Today I’m sharing my favorite Royal icing recipe. Believe me, I’ve tried different versions of icing, I tried the one made with egg whites but the only one that gives me satisfaction is the icing made with meringue powder.
It’s a solid recipe, that’s preferred for BEGINNERS. It tastes great and it’s easy to work with!
Ingredients:
908g (2 lb) sugar powder
50g (6 tbsp) meringue powder
1 tbsp vanilla extract (or other flavor)
3/4 cup water
Step 1
Start by mixing the vanilla extract and water together.
Step 2
In a stand mixer bowl, combine the sugar powder and meringue powder and start mixing on low speed for 1 minute.
Step 3
Add the flavored water to the dry ingredients, while the mixer is still on low speed. Once all the ingredients are incorporated, turn the mixer to medium/medium high speed and mix for another 5 minutes.
Step 4
After the icing is mixed, set aside the necessary amount for coloring and cover the rest of the icing.
Step 5
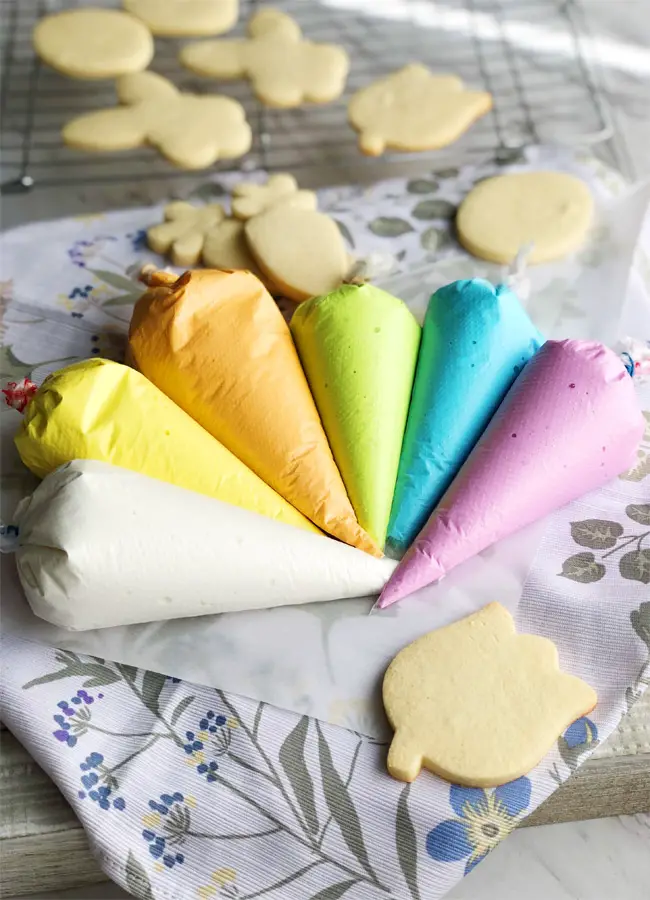
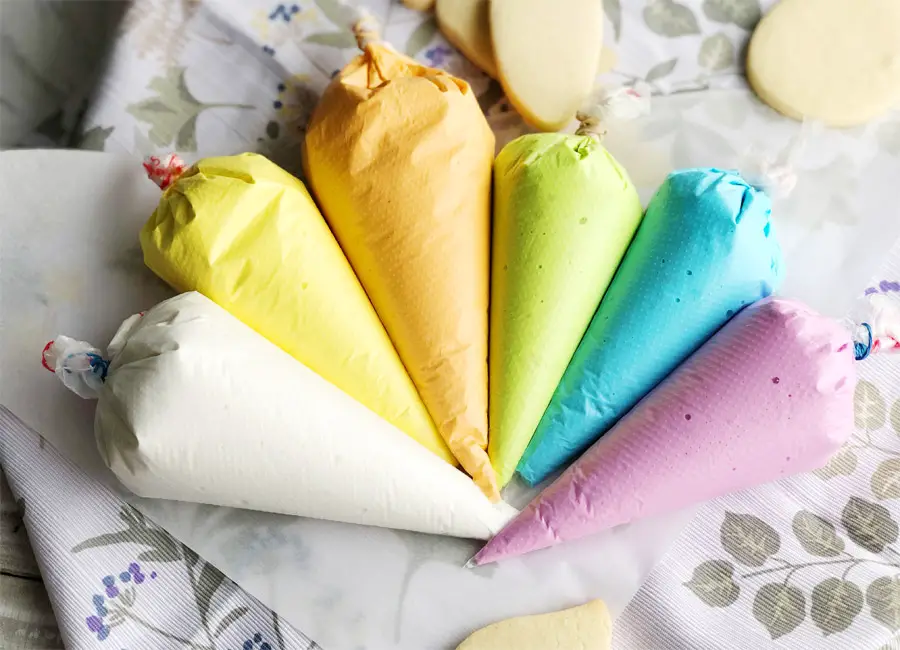
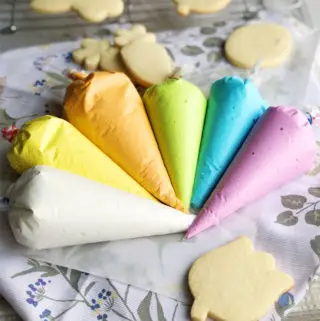
Add your gel food color, mix together then start to add water in small amounts to get the desired consistency.
Step 6
Transfer to a piping bag and it’s ready for work!
Enjoy!
Notes:
The icing dries very quickly, so always keep it covered with a plastic wrap or wet towel.
Unused Royal icing needs to be kept in an airtight container. That way, it keeps for a couple of weeks covered at room temperature.
And one more thing, if you keep it for more than a few days, the water may start to separate from the icing. Just give it a good mix before using it again.
Royal Icing for Beginners
Ingredients
- 908 g sugar powder
- 50 g meringue powder
- 1 tbsp vanilla extract (or another flavor)
- 3/4 cup water
Instructions
- Start by mixing the vanilla extract and water together.
- In a stand mixer bowl, combine the sugar powder and meringue powder and start mixing on low speed for 1 minute.
- Add the flavored water to the dry ingredients while the mixeris still on low speed. Once all the ingredients are incorporated, turn the mixer to medium/medium high speed and mix for another 5 minutes.
- After the icing is mixed, set aside the necessary amount for coloring and cover the rest of the icing.
- Add your gel food color, mix together then start to add water in small amounts to get the desired consistency.
- Transfer to a piping bag and it’s ready for work!
I’ve never worked with royal icing. As it dries quickly, when using multiple colors on a cookie should you be able to put 2nd color on right after the first? And third, etc? Or do you need to let each color harden before starting on next?
Hi Michele, if your cookie design calls for clear lines between colors, then let the first color to dry out for a few minutes before continue with the nex color. Let the cookies dry for a couple of hours before decorating them with details. Please, watch my video tutorial, where I’m explaining in details about decorating process)) https://www.youtube.com/watch?v=CGw0DoO8pDE&t=270s
If you don’t mix your merengue powder in water first you will get a crunchy icing. So first dissolve your powder and mix for about half a minute till dissolved. Using warm water works best.
Hi Wanda, thank you so much for your tip! I will try it next time))
So you don’t have two icings when decorating your cookies? You use the same one for piping and filling? I always thought you had to have one thicker one and one thinner one.
It was our first time doing it with merengue and it was perfect!! Thanks
Hi, do you have to wait for the outline to dry before filling in?
Not really helpful for a beginner. How are we supposed to know what the desired consistency is?!