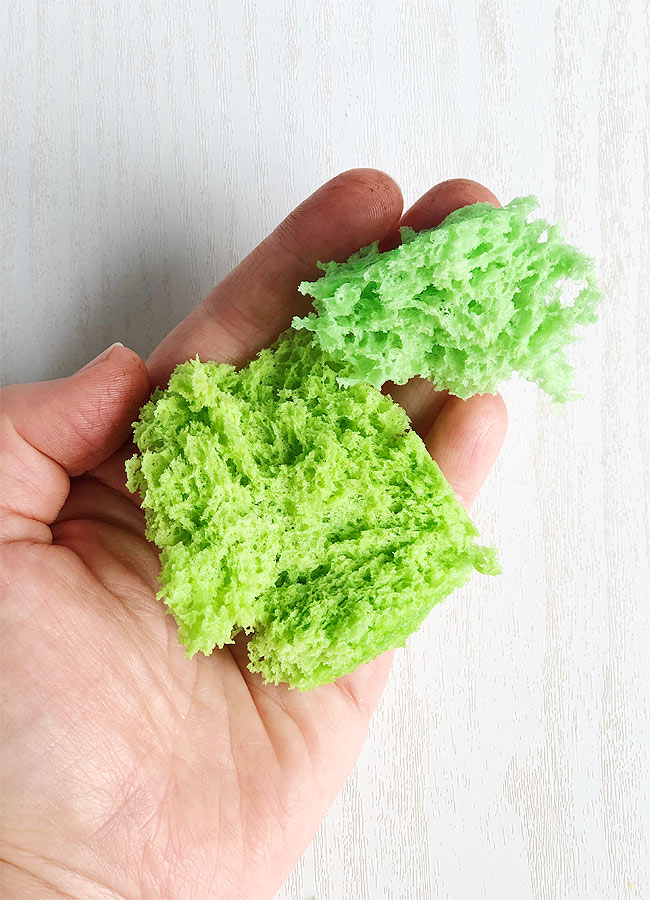
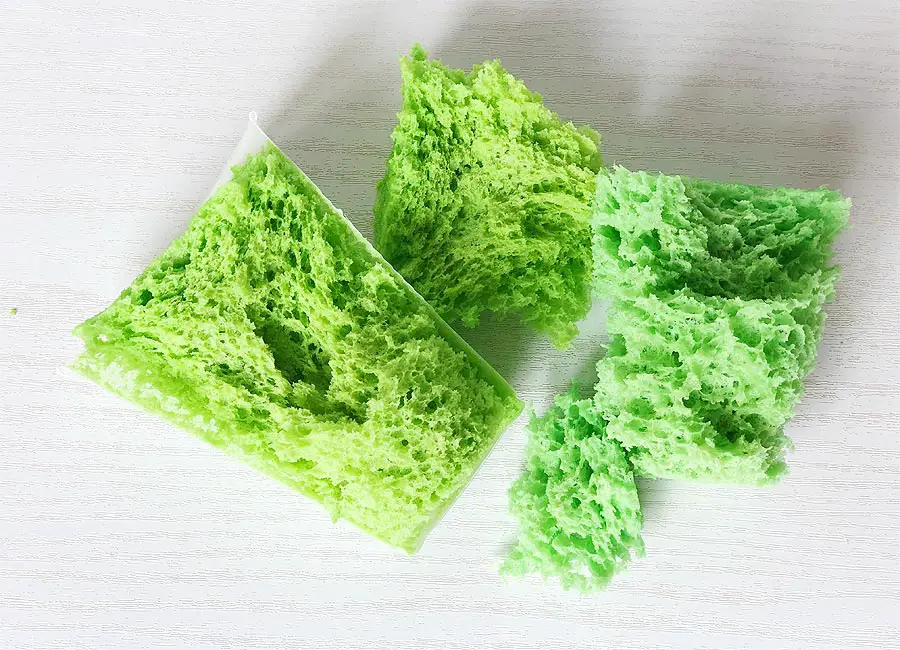
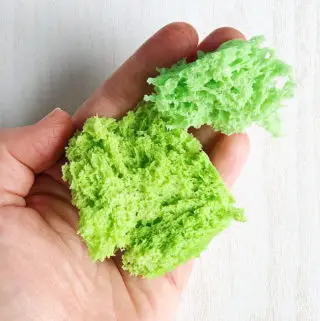
 Today I’m going to show you How to Make Edible Moss. This edible grass is a great way to decorate cake and cupcakes, especially for kids. It tastes good and takes less than five minutes to prepare.
If you are avoiding eggs or honey in your diet, check out my Edible Moss Recipe Without Eggs and Honey.
Ingredients:
1 egg at room temperature
25g (3 tbs) flour
5g (1 ¼ tsp) baking powder
12g (1 tbsp) sugar
30g honey
Step 1
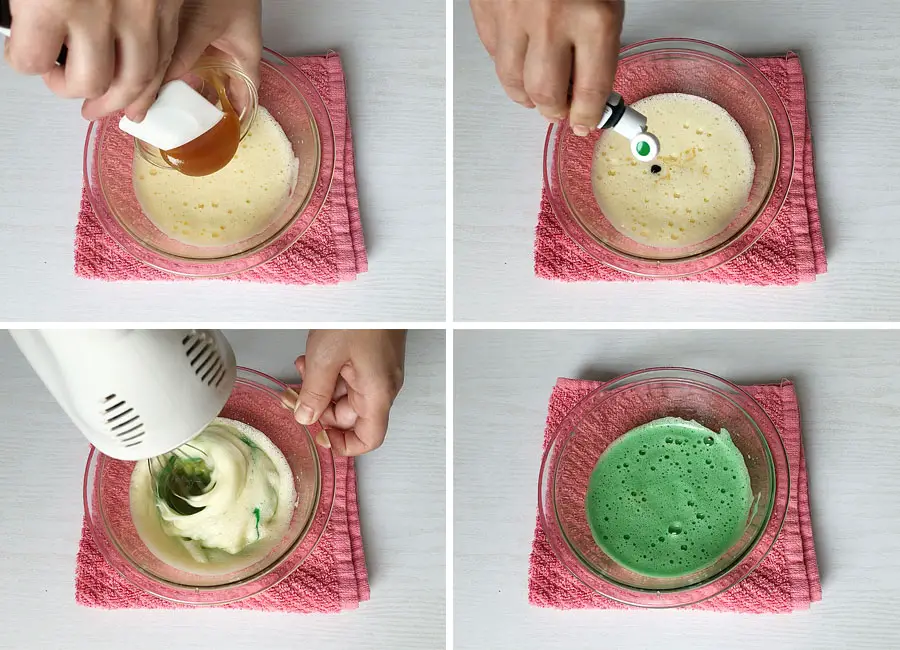
In a mixing bowl combine the egg and sugar and whisk until light and fluffy.

Step 2
Add honey, one drop of gel color and whisk again.
Step 3
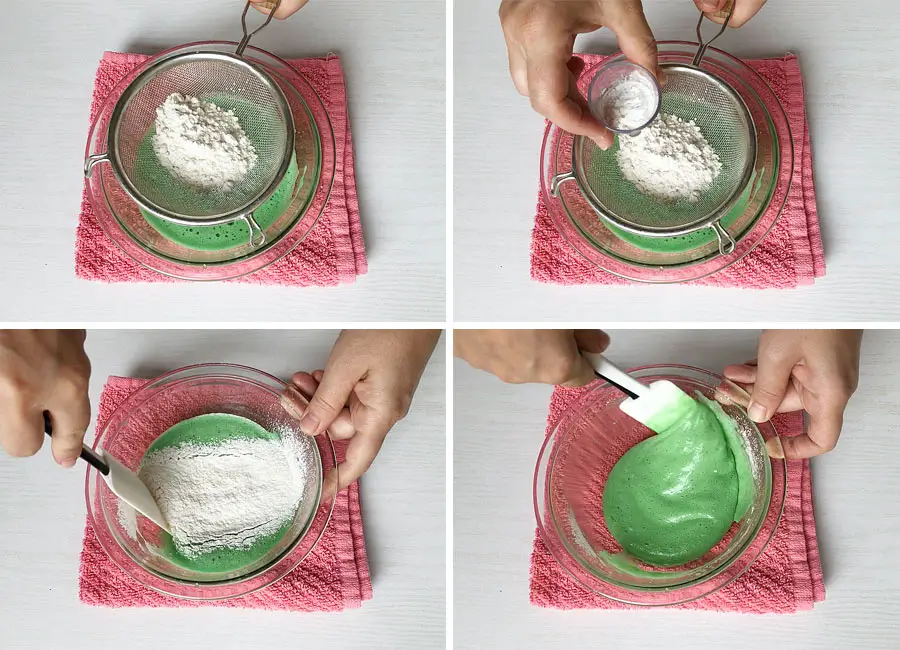
Sift in the flour and baking powder and very carefully mix with a spatula.
Step 4
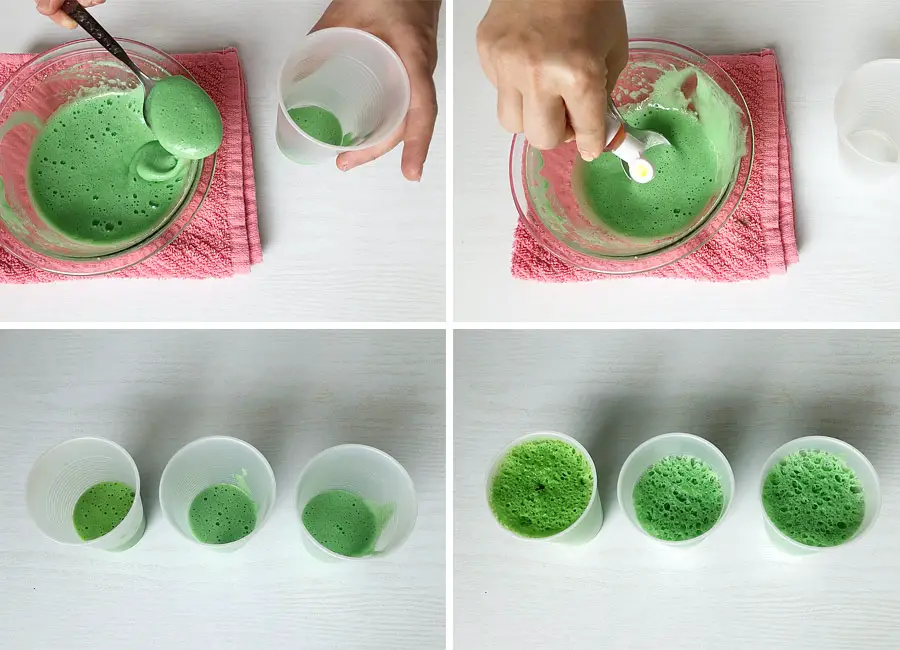
Fill the disposable cups about 1/3 of the way up. You need to leave enough room for the batter to climb up. You can also change the tone and color of the original green color by adding a drop of any other colors. From the specified amount of ingredients, I fill out three cups with the dough. Next, we need to microwave the cups for about 50 seconds.
Step 5
Turn the cups over to the cooling rack and let them cool completely. When they cool down, cut each cup with scissors and take out the sponge cake moss.

Notes:
With this recipe you can make any color edible moss you need for your cake décor.
You can also make it in advance and store it in an airtight container in the freezer for a few months.
If my post was useful to you, please let me know in the comment section below.
This post may contain affiliate sales links. Please see my Full Disclosure Policy for details.
How to Make Edible Moss | Edible Grass for Cakes
Ingredients
- 1 egg at room temperature
- 25 g flour
- 5 g baking powder
- 12 g sugar
- 30 g honey
Instructions
- In a mixing bowl combine the egg and sugar and whisk until light and fluffy.
- Add honey, one drop of gel color and whisk again.
- Sift in the flour and baking powder and very carefully mix with a spatula.
- Fill the disposable cups about 1/3 of the way up. You need to leave enough room for the batter to climb up. You can also change the tone and color of the original green color by adding a drop of any other colors.From the specified amount of ingredients, I fill out three cups with the dough. Next, we need to microwave the cups for about 50 seconds.
- Turn the cups over to the cooling rack and let them cool completely. When they cool down, cut each cup with scissors and take out the sponge cake moss.
Notes
You can also make it in advance and store it in an airtight container in the freezer for a few months.
You may also like
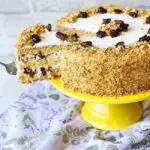
Honey Sponge Cake
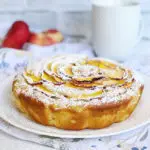
Fresh Peach Cake Recipe

How to Make a Cake without an Oven \ Chocolate Cherry Cake
Is there a way to recreate this not using plastic cup or microwave?
Hi Wendy,
I have not tried it myself, but I know that you can. Use paper cups or silicone cupcake molds and bake at 430-460 F (220-240C) for about 4-5 minutes, kipping the eye on it.
I LOVE this recipe! I didn’t have disposable cups so instead used coffee mugs and lined them with a tube of parchment paper, making sure to cover the bottom and leaving a couple of inches above the rim of the mug. I microwaved for 1 minute. I divided it into 2 batches as I only needed 2 colors and the tubes were tall enough that they climbed right up the mugs Then I laid the mugs down on the cooling rack sideways and pulled the parchment w/enclosed sponge moss out and let it cool completely before unwrapping.
Thank you so much for posting this, you saved my butt this weekend for a dinosaur cake!
Hi Em, I’m really happy I could help) Thank you so much for taking a moment to let me know!
Muchas gracias, me ayudo para un pastel de dinosaurios ❤️
Thank you!))
Hello, is there a way to make this without disposable cups? Thank you!
Hi Ashley, I have not tried it myself, but I know that you can use paper cups or silicone cupcake molds and bake at 430-460 F (220-240C) for about 4-5 minutes, kipping the eye on it.
Hi, I tried this in OTG with paper cups at 220°C for 5-7mins, as suggested in a comment above. However, they sank down in the oven itself, after rising super well initially. I understand you haven’t tried OTG before, but any idea why this could’ve happened?
Just made this mods to use on a log cake I made for my dad’s birthday. Mods. Edible meringue mushrooms. Etc thank you much. I did use a glass bowl and it turned out just fine
Hi Any! I’m so glad it worked for you and thank you for sharing!))
I made this today with aquafaba instead of the egg and it worked :).
Thank you so much for sharing, I have been trying to find out this recipe, I am going to try it for my granddaughter 1st birthday cake to have a green grass look
I’m making this to put on a cake that I have to deliver 2 days before they’ll be serving it. I assume the moss will dry out though. Any idea how long before it dries out and gets stale or any thoughts on how to keep it fresh on the cake? Thank you! Btw, I made this for another cake and it turned out awesome!
I plan to make this recipe for a gingerbread house. Do you know how if the moss would spoil over an extended period of time, say 1 month exposed to ambient conditions? Hoping to prevent mold! Thanks!
Just made this today, I don’t have any plastic cups available . I just use the Pyrex bowl where I mixed the batter on. Put in microwave for 1 min. 30 sec. it depends on the microwave power, so I kept an eye on it. When I saw its rising and have the bubbles, I checked it out and it came just right..I have do do another one since the cake needs more grass. ?
Thank you for this simple & easy grass idea. I used to do the icing as grass by using a star pipe but it’s too sweet.
Thanks again,
This worked so well! Thanks for the easy recipe
Oh my gosh, this was SO much fun! It looked amazing on my woodland stump cake and it tasted pretty good too!
I get to try this today for my upcoming wedding!! Thank you!!
This is amazing! Made it today for a cake. Just wondering if this is room temp stable? Safe to not refrigerate?
I’m so happy I found your recipe of the edible moos. At the moment I making gone fishing theme. And this edible moos does help me a lot. And very easy to make. Thank you.
I put my mixture in a plastic heat safe paper coffee cup and microwaved for 50 seconds. After turning upside down on an a rack and making sure it is cold, the texture is wet and sticky. Why?