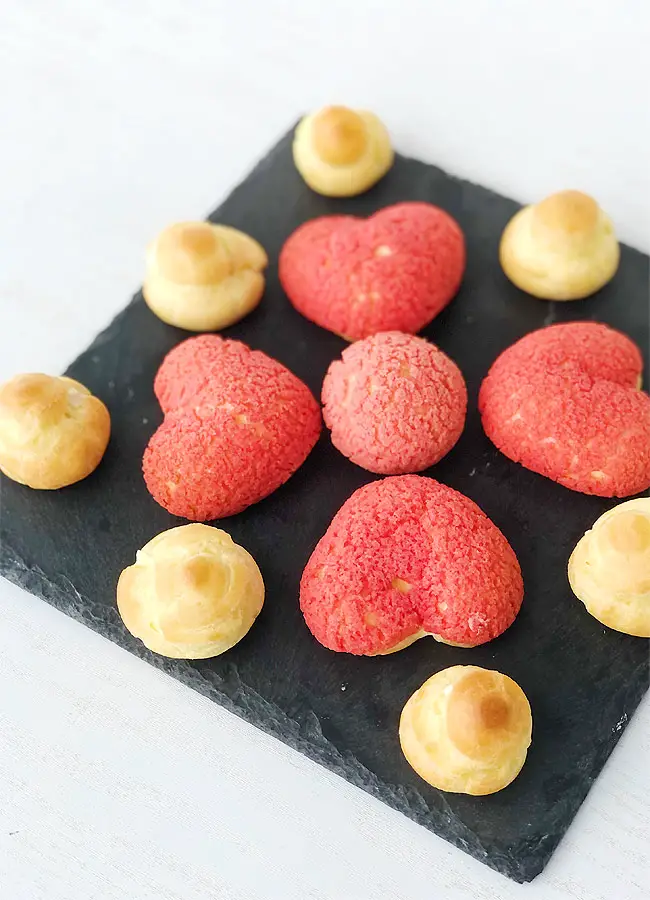
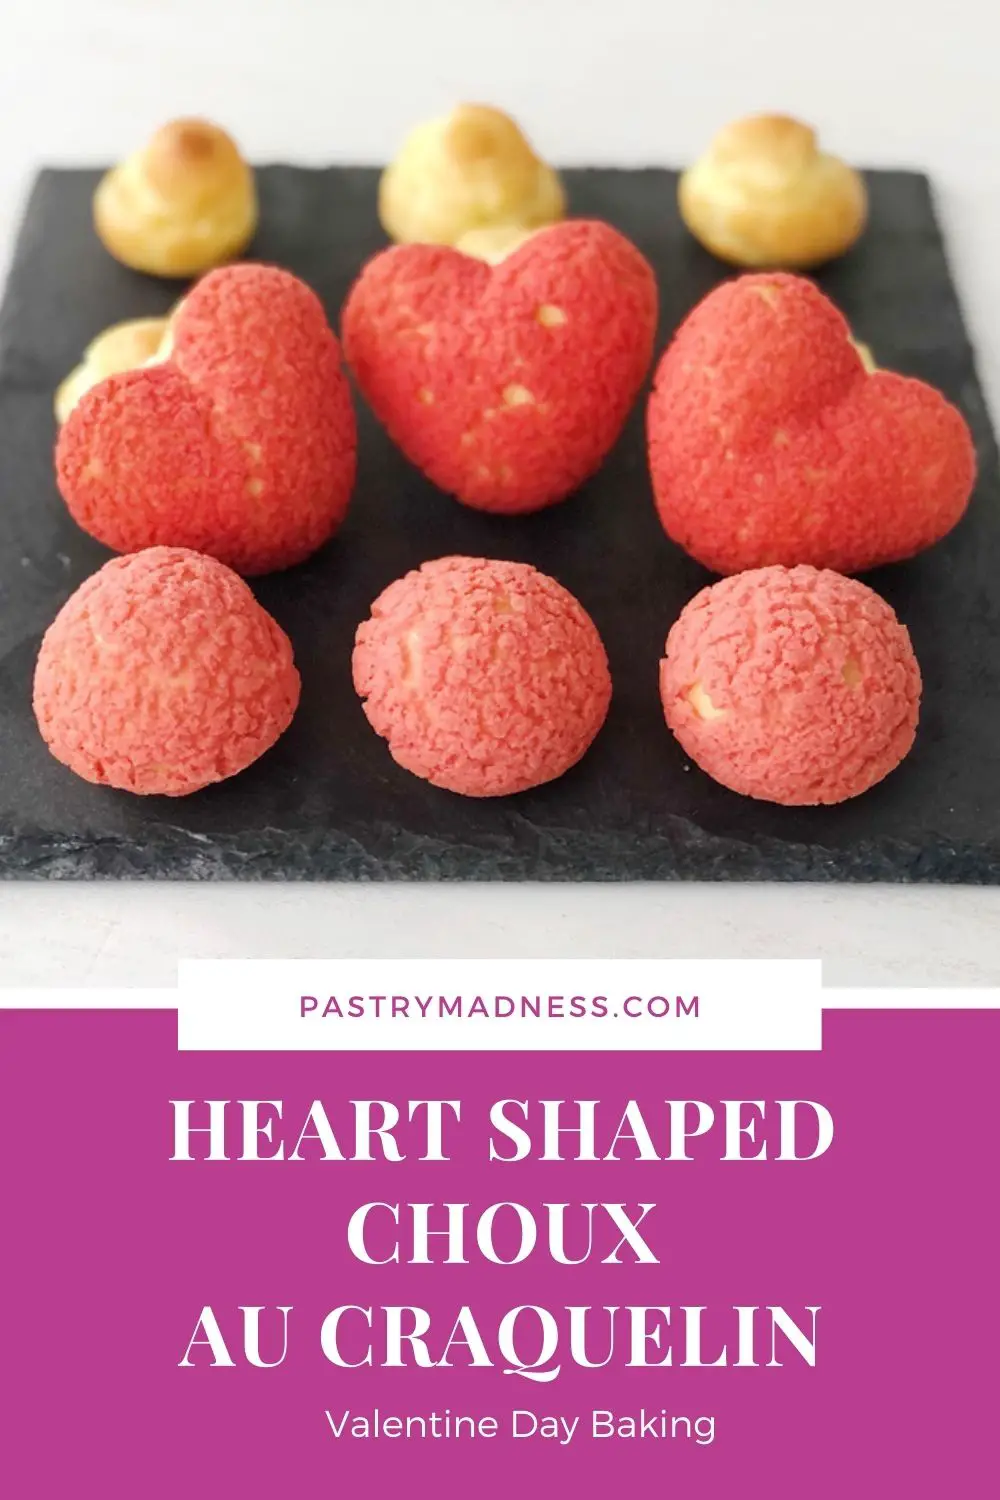
Today I’m going to make heart shaped Choux Au Craquelin and I’m making them for the first time ever. I’ll be honest with you, it didn’t go well the first try. I decided to share with you how I failed and how I succeed after a few tries.
This elegant heart shaped pastries, covered with crunchy topping and filled with smooth and delicate cream can make a special Valentine Day treat.
Ingredients for the filling:
500 ml whole milk
150g sugar
95g egg yolks (about 5 large egg yolks)
40g (4 tbsp) cornstarch
70g butter
1 tbsp vanilla paste or vanilla extract
200 ml cold heavy whipping cream
Ingredients for the Craquelin topping:
100g all-purpose flour
100g softened butter
100g sugar
10 drops red oil based food coloring (optional)
Ingredients for the Choux pastry:
125 ml water
125 ml whole milk
1 ½ tsp sugar
¼ tsp salt
100g butter
160g all-purpose flour
4-6 eggs at room temperature
Step 1
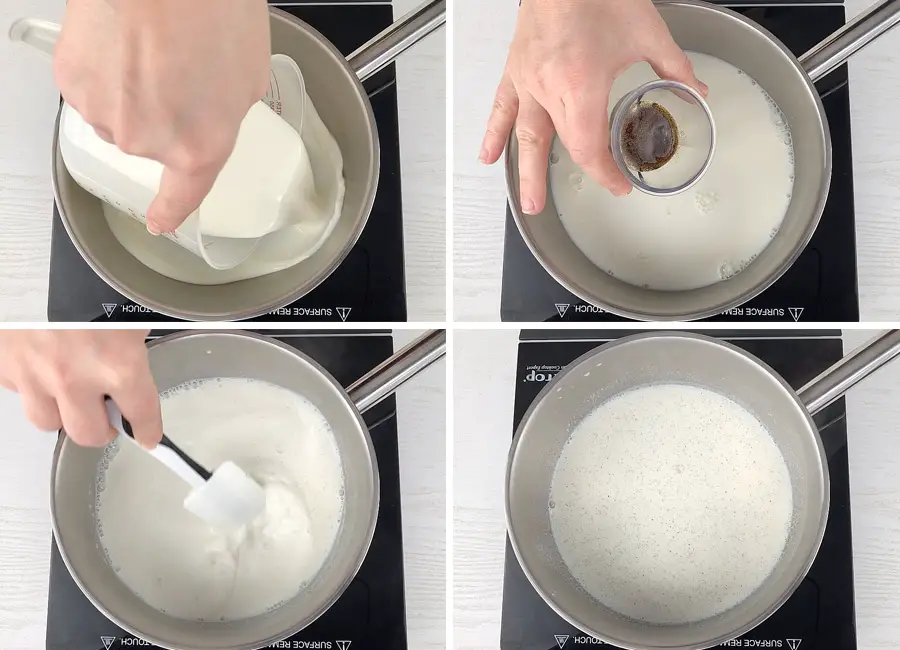
We’ll start with the pastry cream filling because it needs to chill in the fridge for several hours. In a saucepan combine the milk and vanilla paste. Mix together and bring to a boil. The moment you can see the first boiling bubbles, take the saucepan off the heat.
Step 2
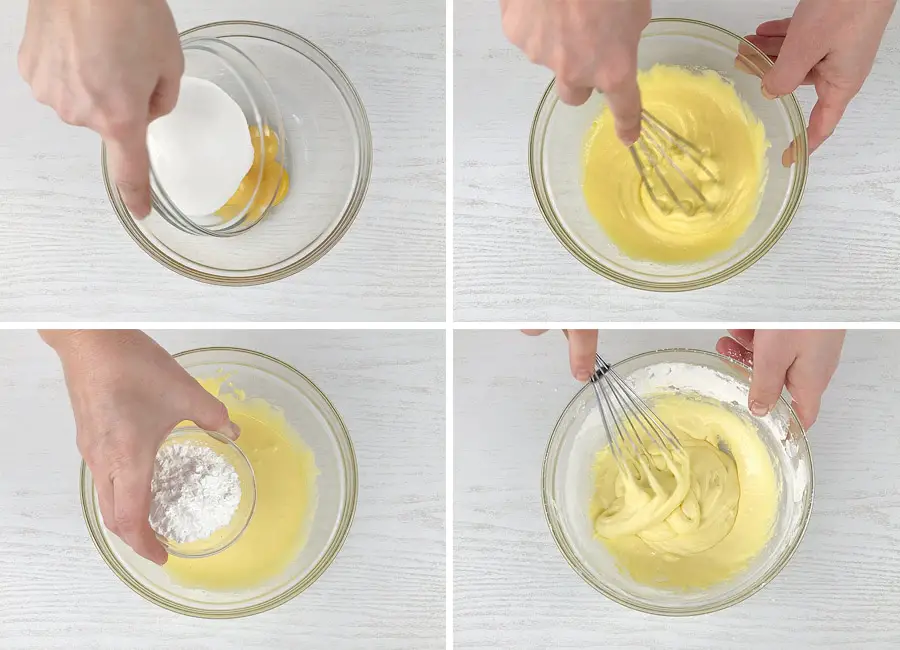
Next, in a large mixing bowl combine the egg yolks, sugar and stir together. Add the cornstarch and stir again until you get a smooth and even mixture without any lumps.
Step 3
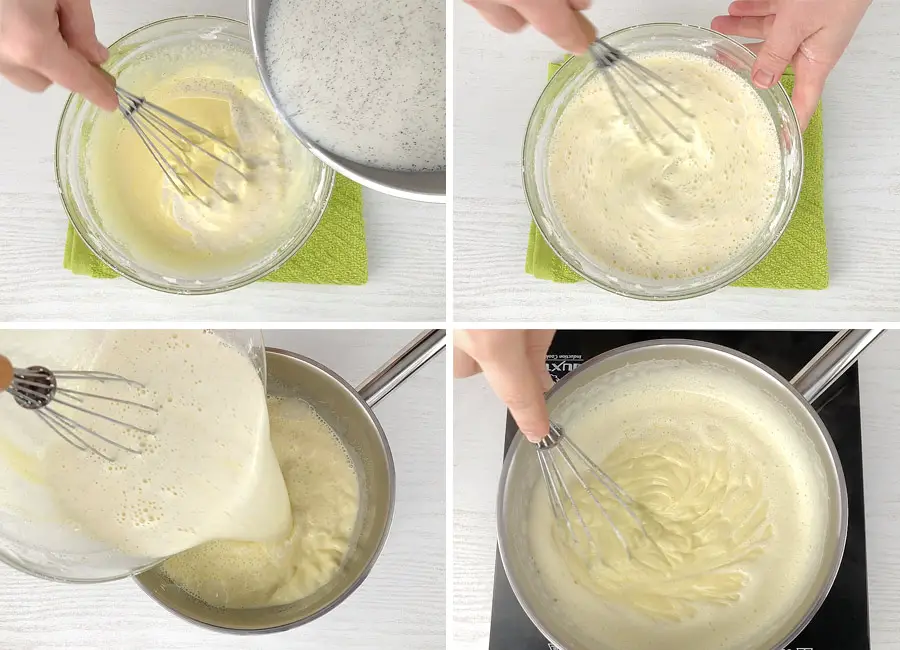
Next, whisk in one fourth of a cup of the hot milk until it’s incorporated, then slowly drizzle in the remaining hot milk while whisking. Strain the mixture back into the saucepan. Place the saucepan over medium-high heat and cook while whisking continuously until thickened and slowly boiling.
Step 4
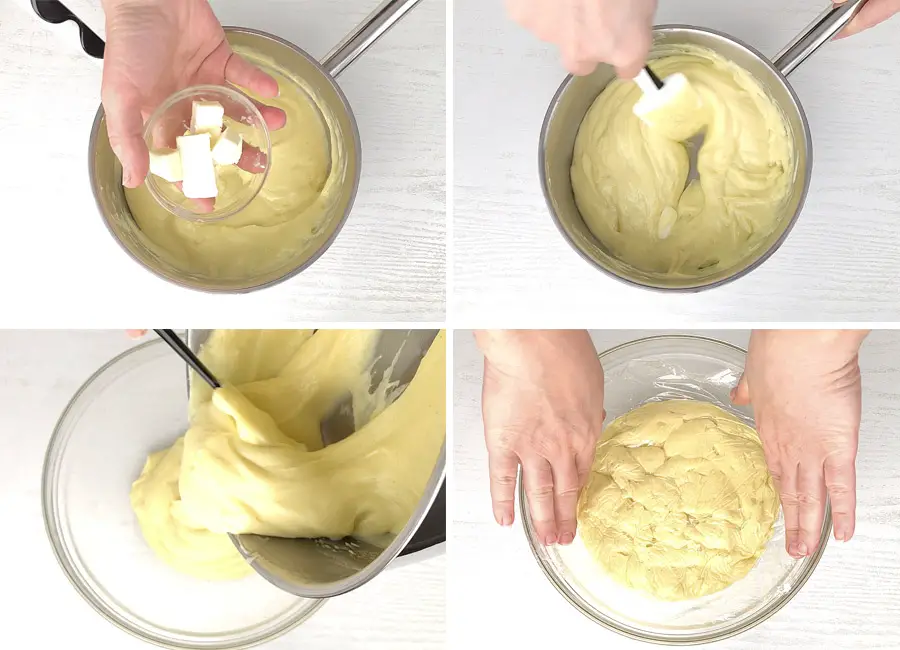
Remove the saucepan from the heat and add the butter. Mix well until the butter has completely dissolved. Pour the custard into a bowl and cover with a plastic wrap making sure that the plastic wrap is touching the whole surface. This is to prevent the custard from forming a skin on top. Let it cool to room temperature and then chill in the refrigerator for a few hours or overnight.
Step 5
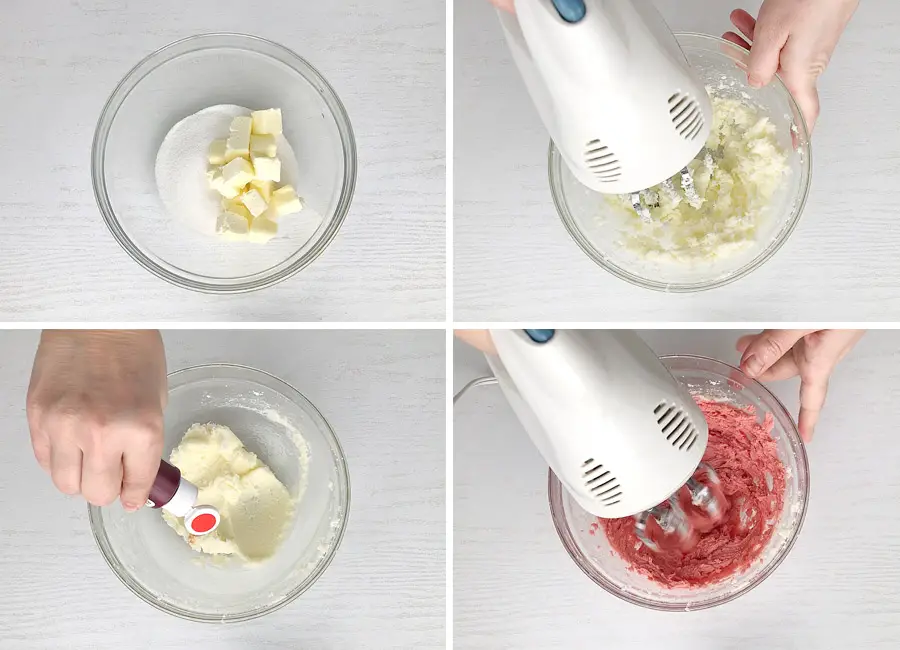
In a mixing bowl combine the sugar and butter. Using a hand mixer, beat the mixture until soft and fluffy. Scrap the sides of the bowl and add the red food coloring. The amount of color will depend on how saturated you want it to be. I added about 10 drops, then using a hand mixer, I beat it again.
Step 6
Scrape the sides of the bowl again and add the flour. Mix it with a spatula until combined well. Place the biscuit dough between two sheets of baking paper and roll it into a thin layer, about 1/8 of an inch thick (about 2 mm).
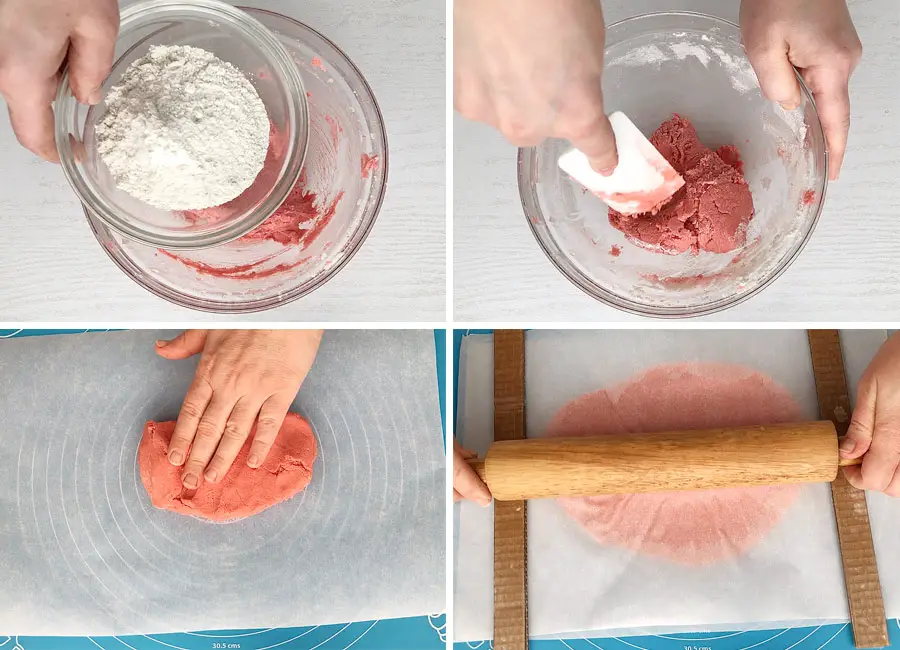
Place it on a baking pan and chill it in the freezer for at least 1 hour (or 2 hours in the fridge).
Step 7
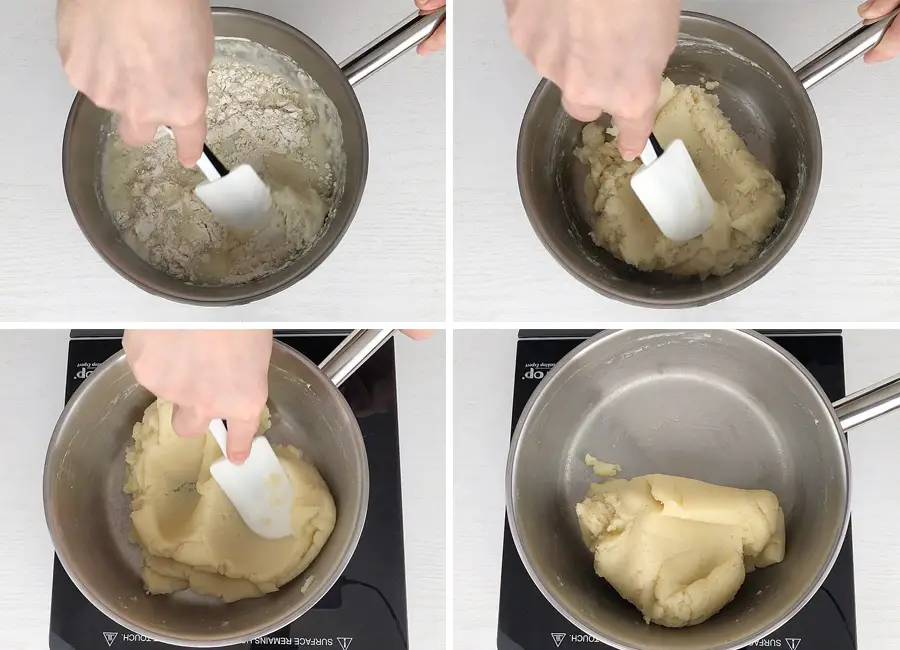
In a medium saucepan combine the water, milk, sugar, salt and butter. Cook over medium heat until the butter has melted, and the mixture starts to boil. Remove it from the heat. Pour in the flour and mix until a paste forms.
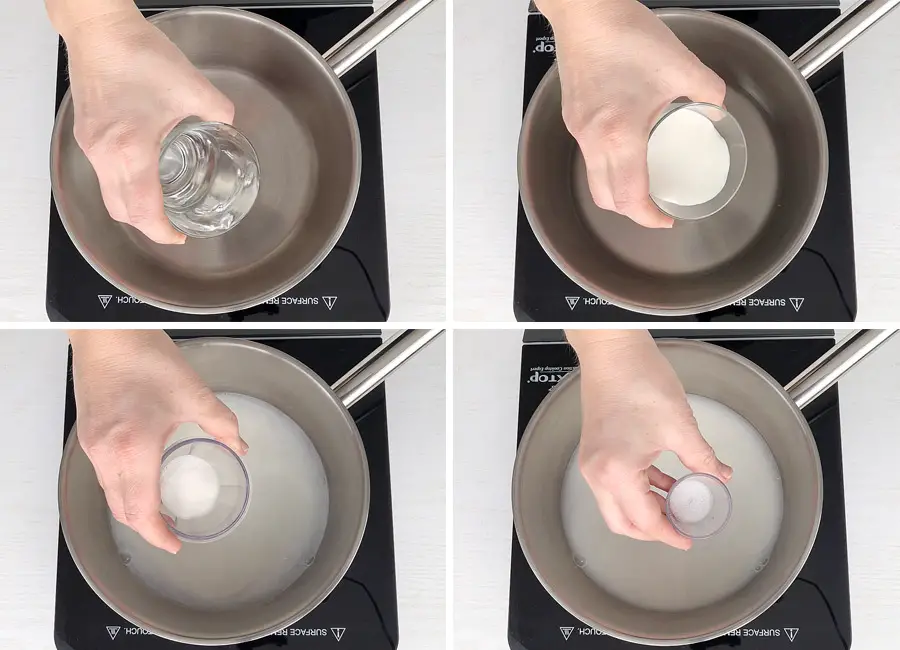
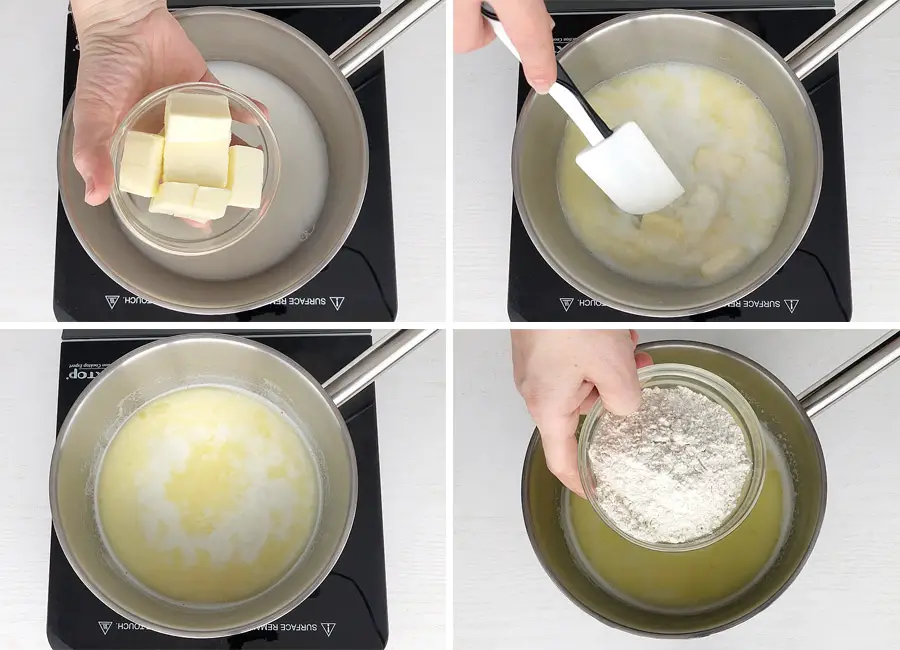
Place the saucepan back on low heat and cook while constantly stirring until a film develops on the side of the pan.
Step 8
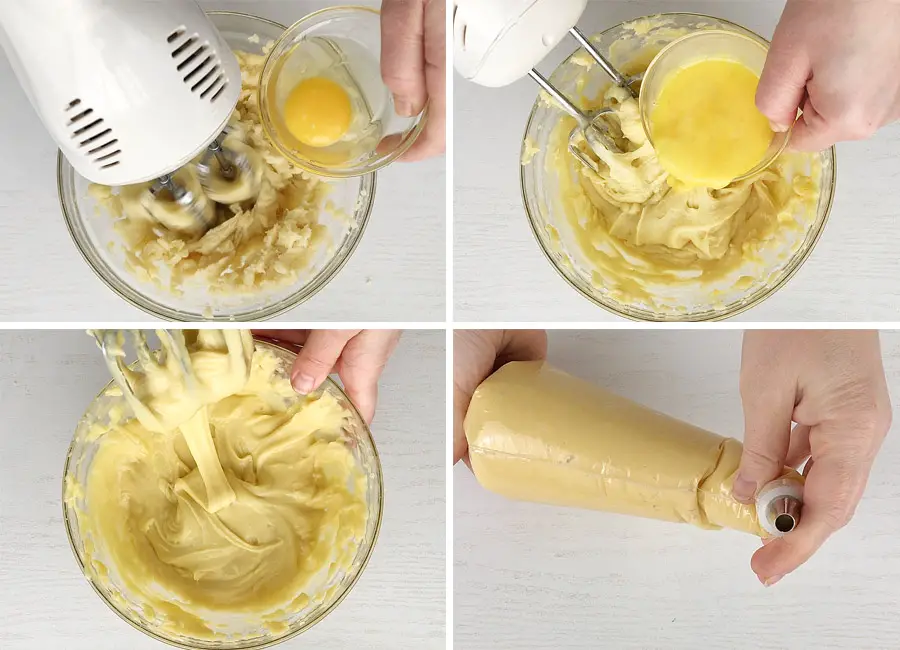
Transfer the dough into a large mixing bowl and let it cool for about 10 minutes. Then using a hand mixer start whisking the dough. With the mixer running, add 4 eggs, 1 egg at a time mixing well between each addition. You can also use a stand mixer with a paddle attachment for this step.
I added 4 eggs and my dough is still too thick. What I like to do is to beat the fifth egg in a separate bowl and add only half of the egg mixture. The dough should turn out smooth and drain slowly from the whisk. Depends on the size of the eggs, you may need between four to five eggs. I used a total of four and a half eggs today. Transfer the dough into a pastry bag fitted with a plain piping tip number 12.
Step 9
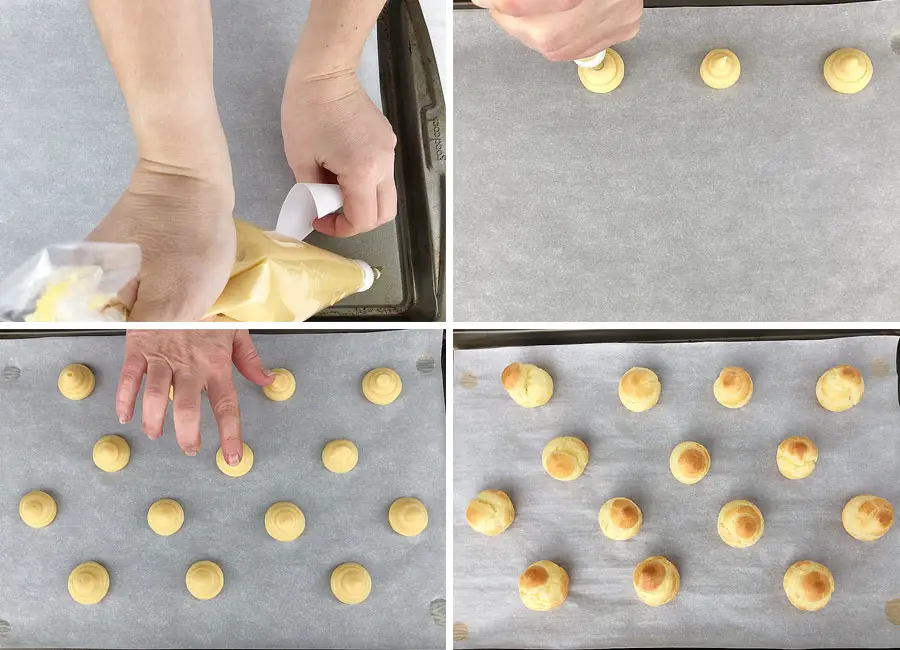
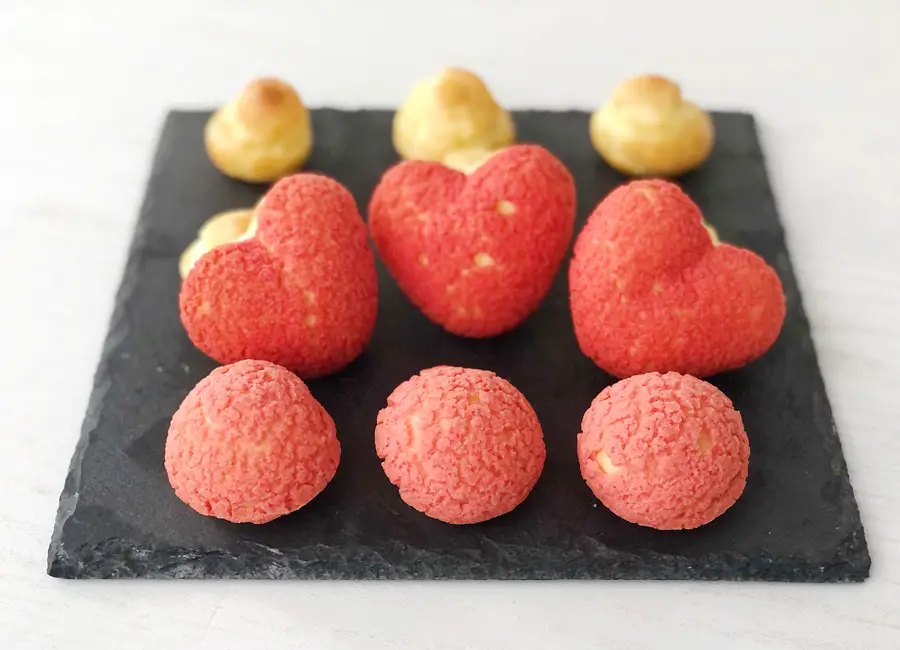
Glue the baking paper to the baking sheet with a small amount of dough in each corner. I decided to make regular, one bite cream puffs in my first batch since my husband really likes them that way. Hold the piping bag perpendicular to the baking sheet and pipe small balls of pastry, leaving room between each pastry as they will puff. Dip your finger in clean water and press the top of each pastry down so it doesn’t burn. Bake at 350 F degrees for about 25 minutes. As you can see, they come out perfectly done.
Step 10
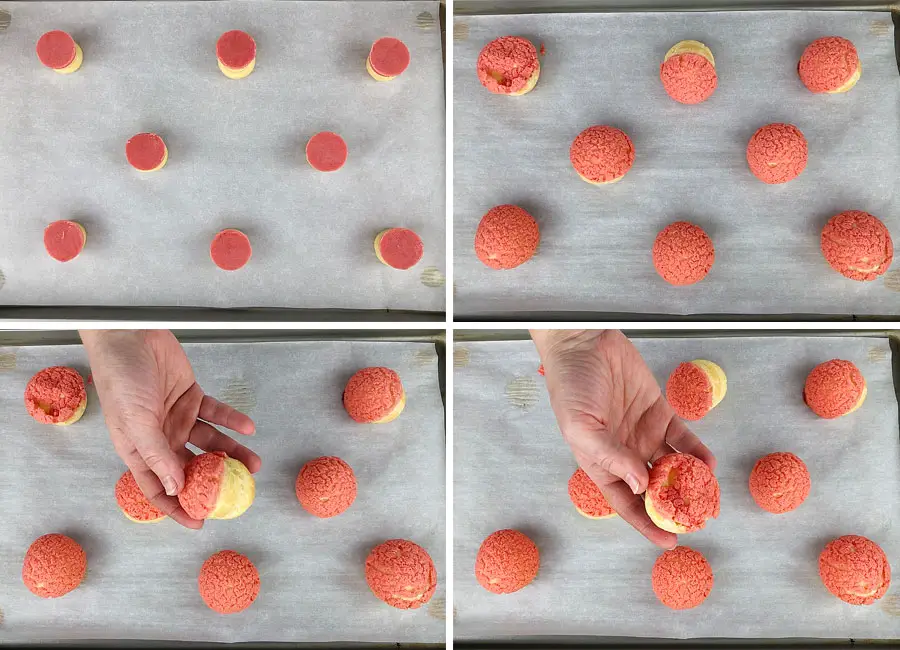
For my next batch, I decided to make them with a biscuit top layer Craquelin. Using a cookie cutter about the size of the piped choux, I cut out small disks of dough and placed them over each Choux pastry. I baked them the same way and they turned out almost perfect. On a couple of them, the cookie layer shifted to the side and I think it’s because I didn’t press the cookie disc enough to stick it to the dough. One of them collapsed completely.
Step 11
For my third batch, I made heart shaped Choux pastries. I outlined the cookie cutter on the baking paper, then flipped the paper and glued it with the dough. I piped the heart shaped Choux pastries squeezing out each half of the heart separately. Dipping my finger in the water, I smoothed the bumps on the surface of each heart.
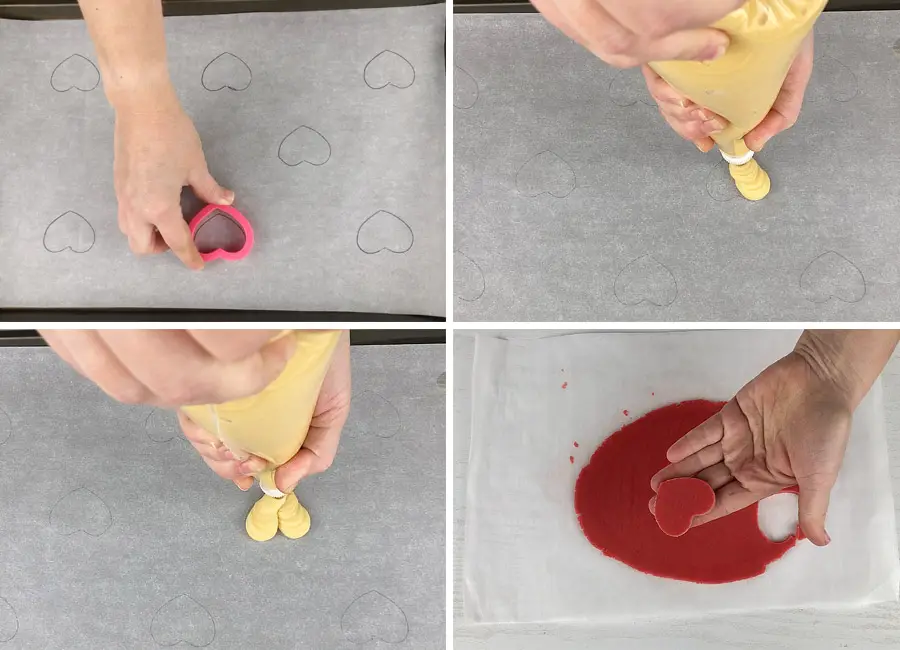
Using the same heart cookie cutter, I cut out the Craquelin hearts and placed them on top of each piped heart and baked at 350 F degrees for about 25 minutes.
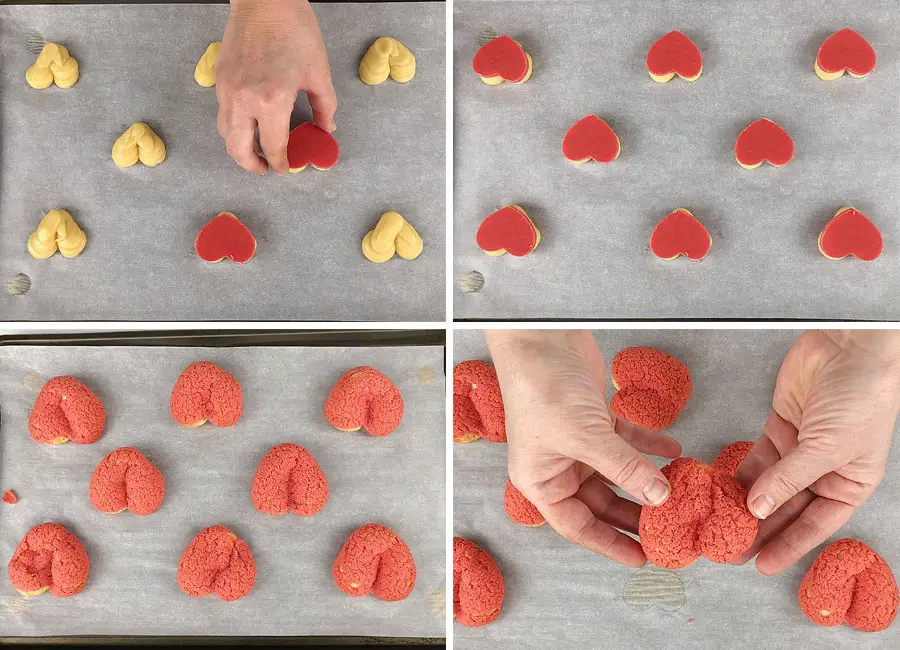
As you can see this batch was a disaster. Almost all of them collapsed and deflated.
Step 12
For my fourth batch, I pipped them differently than the ones before. Instead of piping each half of the heart separately I piped it with one squeeze like a letter “V”. Moving very slowly from the top of the heart, down to the middle and up to the other top. The thickness of the piped pastry is about half of an inch. I also made more room between the Choux hearts, piping only six of them onto the baking pan. Again, I smoothed the bumps and covered each pastry with the biscuit heart. This time, I increased the oven temperature to 390F degrees and baked them for 20 minutes.

As you can see, they held the shape perfectly, but this time I burned them.
Step 13
For my fifth batch, I made them the same way as the ones before, the only difference was the baking time. I baked them at 390 F degrees for 17 minutes.
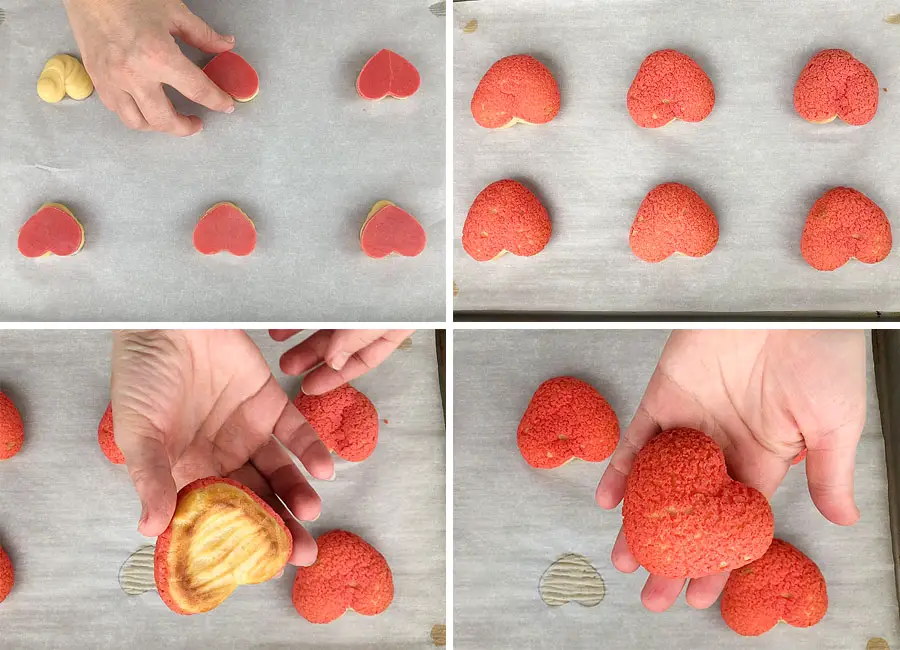
As you can see, my heart shaped Choux Au Craquelin pastries turned out perfect.
Step 14
Now it’s time to finish our filling. In order to do that, we’ll need to whip the cold heavy whipping cream to medium peaks. Next, take the custard out of the fridge and using a hand mixer give it a quick mix. Add the whipped cream into the custard and mix it with a spatula. Transfer the filling into a pastry bag fitted with a cream icing piping tip.
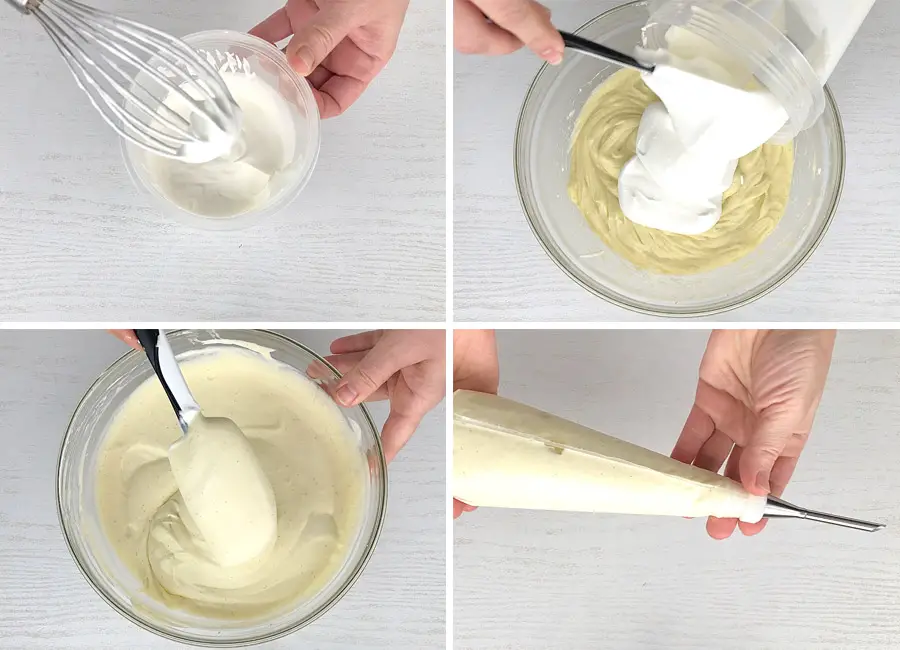
Step 15
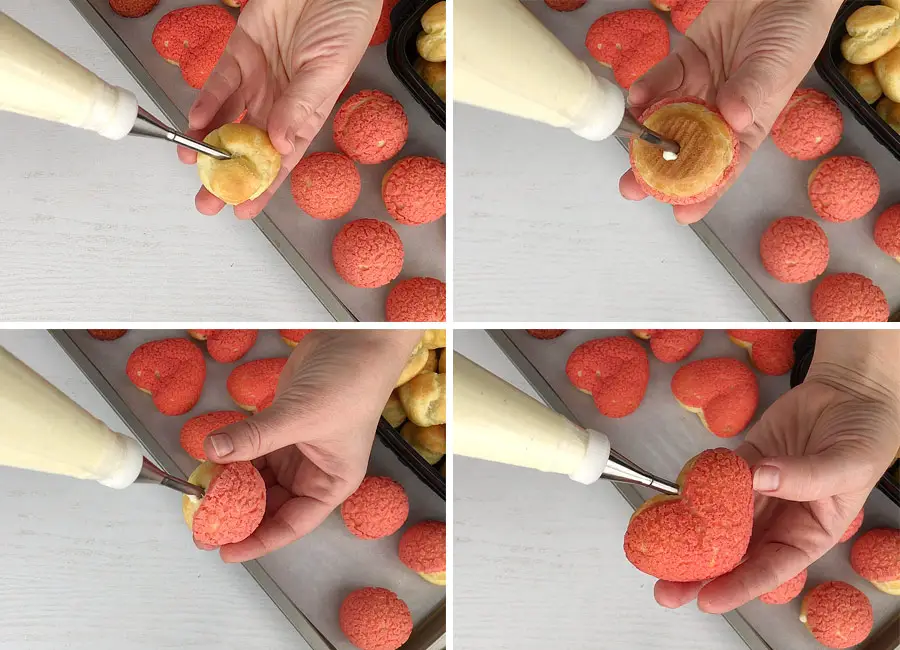
Fill the choux pastries with the filling from the side or bottom of the pastry.
If you’re trying to make a Choux Au Craquelin pastries for the first time and you failed, don’t give up. Try again, make some changes, get to know your oven and when you succeed, I promise, you will feel so proud of yourself. I know I did)
Notes:
Depending on the size of your eggs, you might need between 4-5 eggs. Add the last whisked egg a little bit at a time, until you get the desired consistency.
Uncooked choux pastry dough can be stored in an airtight container (or pastry bag) in the fridge for up to 2 days.
You may prepare the biscuit dough the day before and keep it in the freezer. Take it out of the freezer about 20 minutes before using it and let it thaw over the counter.If you make the choux buns ahead of time, freeze them in an airtight container. Then defrost in the fridge.
This post may contain affiliate sales links. Please see my Full Disclosure Policy for details.

Heart Shaped Choux Au Craquelin
Ingredients
Method
- We’ll start with the pastry cream filling because it needs to chill in the fridge for several hours. In a saucepan combine the milk and vanilla paste. Mix together and bring to a boil. The moment you can see the first boiling bubbles, take the saucepan off the heat.
- Next, in a large mixing bowl combine the egg yolks, sugar and stir together. Add the cornstarch and stir again until you get a smooth and even mixture without any lumps.
- Next, whisk in one fourth of a cup of the hot milk until it’s incorporated, then slowly drizzle in the remaining hot milk while whisking. Strain the mixture back into the saucepan. Place the saucepan over medium-high heat and cook while whisking continuously until thickened and slowly boiling.
- Remove the saucepan from the heat and add the butter. Mix well until the butter has completely dissolved. Pour the custard into a bowl and cover with a plastic wrap making sure that the plastic wrap is touching the whole surface. This is to prevent the custard from forming a skin on top. Let it cool to room temperature and then chill in the refrigerator for a few hours or overnight.
- In a mixing bowl combine the sugar and butter. Using a hand mixer, beat the mixture until soft and fluffy. Scrap the sides of the bowl and add the red food coloring. The amount of color will depend on how saturated you want it to be. I added about 10 drops, then using a hand mixer, I beat it again.
- Scrape the sides of the bowl again and add the flour. Mix it with a spatula until combined well. Place the biscuit dough between two sheets of baking paper and roll it into a thin layer, about 1/8 of an inch thick (about 2 mm). Place it on a baking pan and chill it in the freezer for at least 1 hour (or 2 hours in the fridge).
- In a medium saucepan combine the water, milk, sugar, salt and butter. Cook over medium heat until the butter has melted, and the mixture starts to boil.Remove it from the heat. Pour in the flour and mix until a paste forms. Place the saucepan back on low heat and cook while constantly stirring until a film develops on the side of the pan.
- Transfer the dough into a large mixing bowl and let it cool for about 10 minutes. Then using a hand mixer start whisking the dough. With the mixer running, add 4 eggs, 1 egg at a time mixing well between each addition. You can also use a stand mixer with a paddle attachment for this step.I added 4 eggs and my dough is still too thick. What I like to do is to beat the fifth egg in a separate bowl and add only half of the egg mixture. The dough should turn out smooth and drain slowly from the whisk. Depends on the size of the eggs, you may need between four to five eggs. I used a total of four and a half eggs today.Transfer the dough into a pastry bag fitted with a plain piping tip number 12.
- Glue the baking paper to the baking sheet with a small amount of dough in each corner. I decided to make regular, one bite cream puffs in my first batch since my husband really likes them that way. Hold the piping bag perpendicular to the baking sheet and pipe small balls of pastry, leaving room between each pastry as they will puff. Dip your finger in clean water and press the top of each pastry down so it doesn’t burn. Bake at 350 F degrees for about 25 minutes.
- To make heart shaped Choux Au Craquelin, pipe it with one squeeze like a letter “V”. Moving very slowly from the top of the heart, down to the middle and up to the other top. The thickness of the piped pastry is about half of an inch. I made more room between the Choux hearts, piping only six of them onto the baking pan. Dip your finger in clean water and smooth the bumps. Covered each pastry with the biscuit heart. Increased the oven temperature to 390F degrees and baked them for about 17 minutes.
- Now it’s time to finish our filling. In order to do that, we’ll need to whip the cold heavy whipping cream to medium peaks. Next, take the custard out of the fridge and using a hand mixer give it a quick mix. Add the whipped cream into the custard and mix it with a spatula. Transfer the filling into a pastry bag fitted with a cream icing piping tip.
- Fill the choux pastries with the filling from the side or bottom of the pastry.
Notes
You may also like:



Hi!
How many choir buns does this recipe make in the end? Even without the number if times you remade it, I can’t gauge how many hearts and circles you can get from this recipe. Is there an average number?
Thank you so much!
Christina