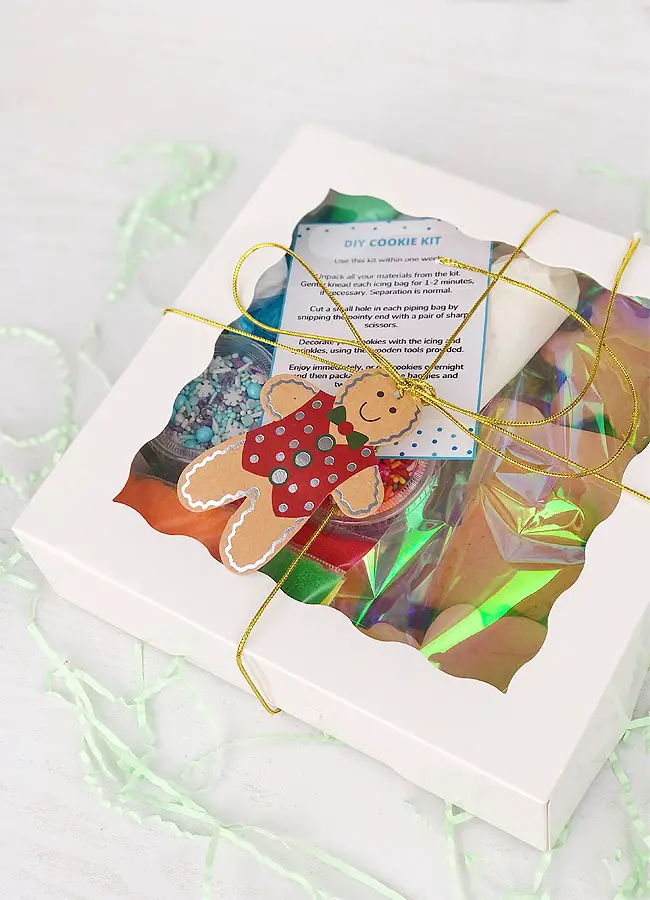
Today I’m going to show you how to make Cookie Decorating Kit. It’s a great edible family gift that can be made for any occasion and will bring everyone together for a fun and tasty activity!
THIS POST MAY CONTAIN AFFILIATE SALES LINKS. PLEASE SEE MY FULL DISCLOSURE POLICY FOR DETAILS.
To make the cookie decorating kit we’ll need:
Cookie box
Crincled paper
Treat/cellophane bags
Piping bags
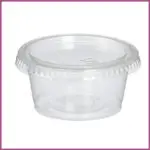
2 oz portion containers
Small resealable bags
Sugar cookies
Gingerbread cookies
Royal icing
Sprinkles
Colored sugar
Step 1
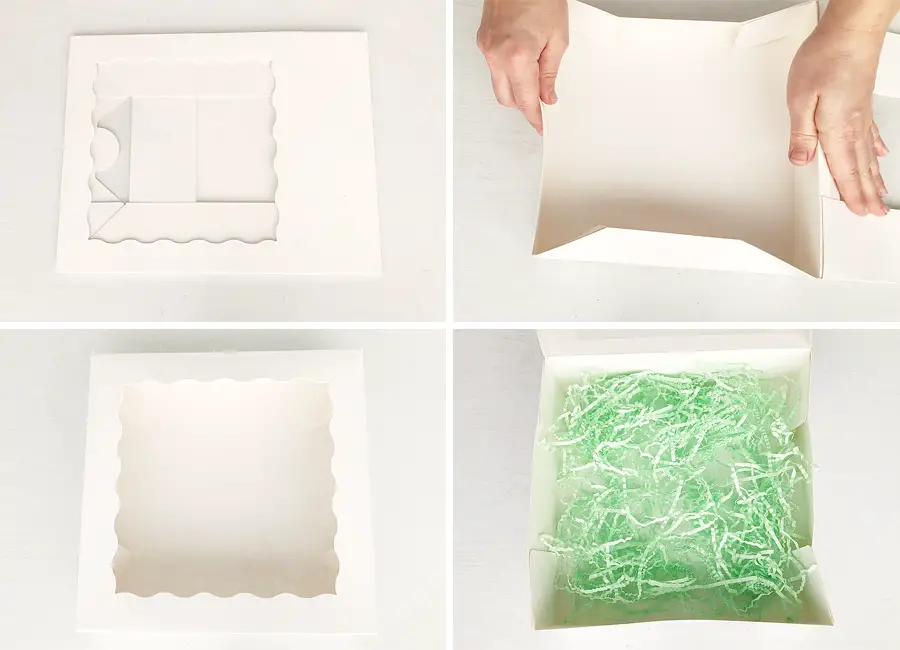
Let’s start with the box. Choose something simple and easy to assemble. It’s best to use bakery boxes with a window, which will beautifully show the content. The boxes come in different sizes and colors, choose what’s best for you. I’m using a cookie box that’s 9 by 9 and 2.5-inches and it’s perfect for all the cookie kit ingredients. To add some color and keep everything safe inside I like to cover the bottom of the box with crincled paper. You can also use tissue paper or even wrinkle some baking paper.
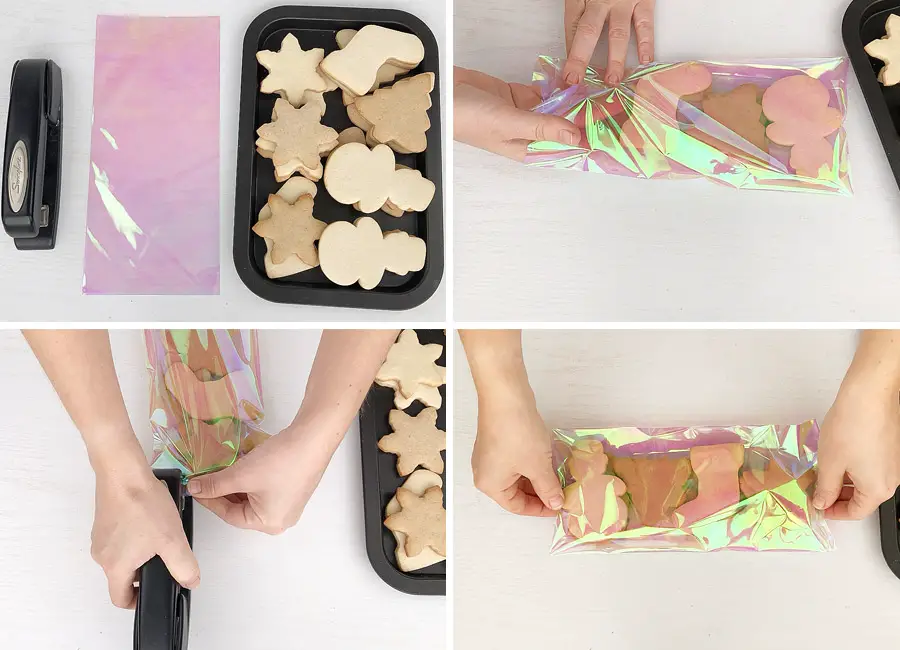
Next, is the star of the box – the cookies! I made some sugar cookies and gingerbread cookies for my box. Check out my Sugar Cookies Recipe and Gingerbread Cookies without Molasses Recipe. You can individually wrap the cookies in a treat bag and tie it with a ribbon. I like to place all my cookies in one cellophane bag, tuck the edges and secure with a stapler.
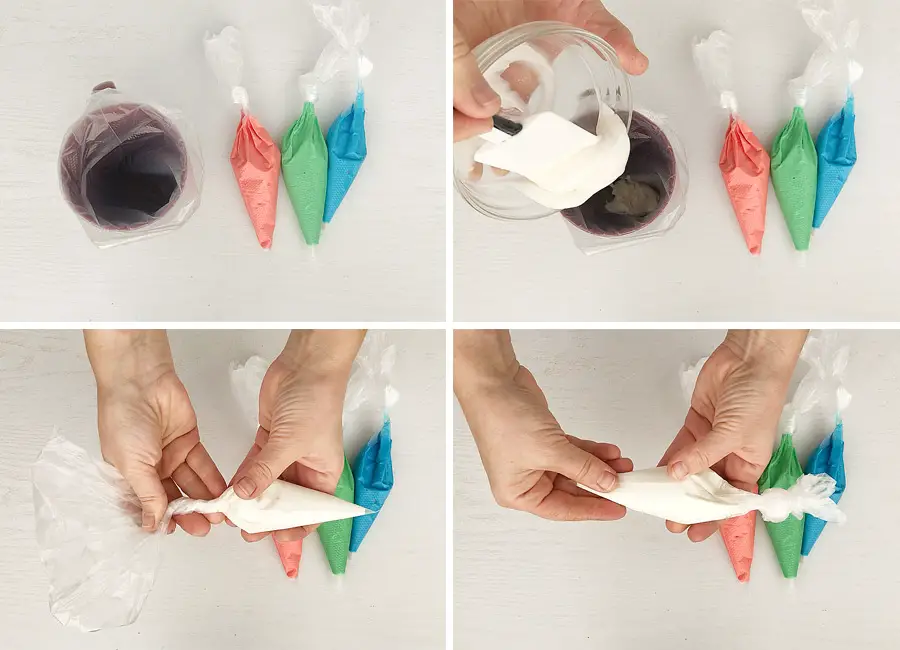
Next, is the icing. I will not go into details on how to make Royal Icing, because I have a great video tutorial on my blog, where I explain how to make Royal Icing, what consistency it needs to be and how to color it. Pick 3-4 colors, depending on the theme of the occasion, fill the piping bags with about 1/3 of a cup each, squeeze the icing to the tip of the bag and tie a knot on the top of the bag, living a little bit of room on the top. The icing will separate after sitting in the bag and the decorator will need to be able to remix the icing by massaging the bag for 1-2 minutes. If you tie the knot right above the icing, you can’t knead the bag easily and you increase the chance of popping the bag by putting pressure on the bag.
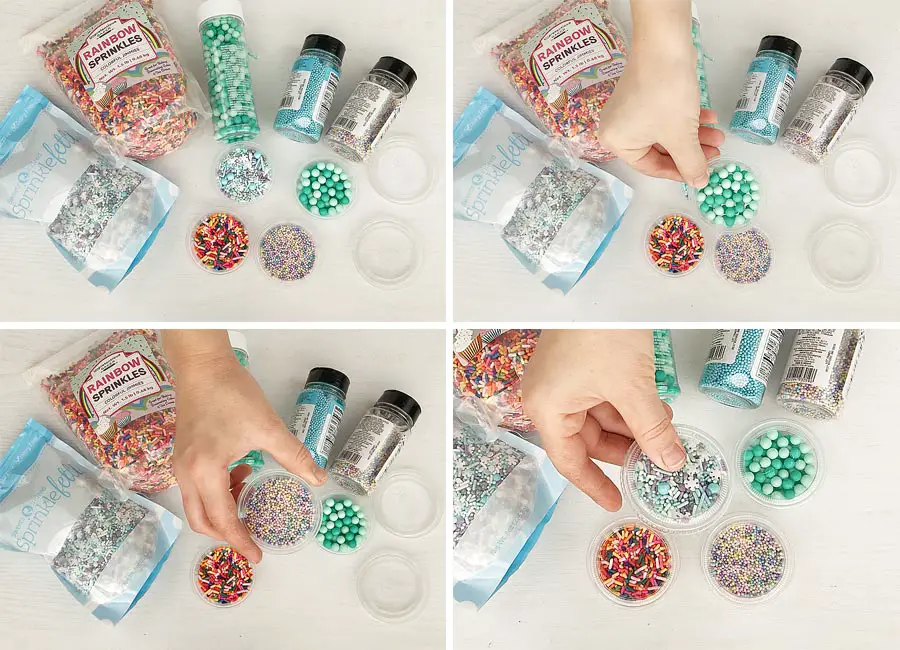
Next is the sprinkles. There is a huge number of sprinkles in different sizes and shapes. Pick 3-4 colors that go with your theme and fill up 2 oz portion containers or small resealable bags putting in 1-1.5 tablespoons in each. Using portion containers is convenient, it helps put the lead back on it at the end and saves any leftovers for future projects.
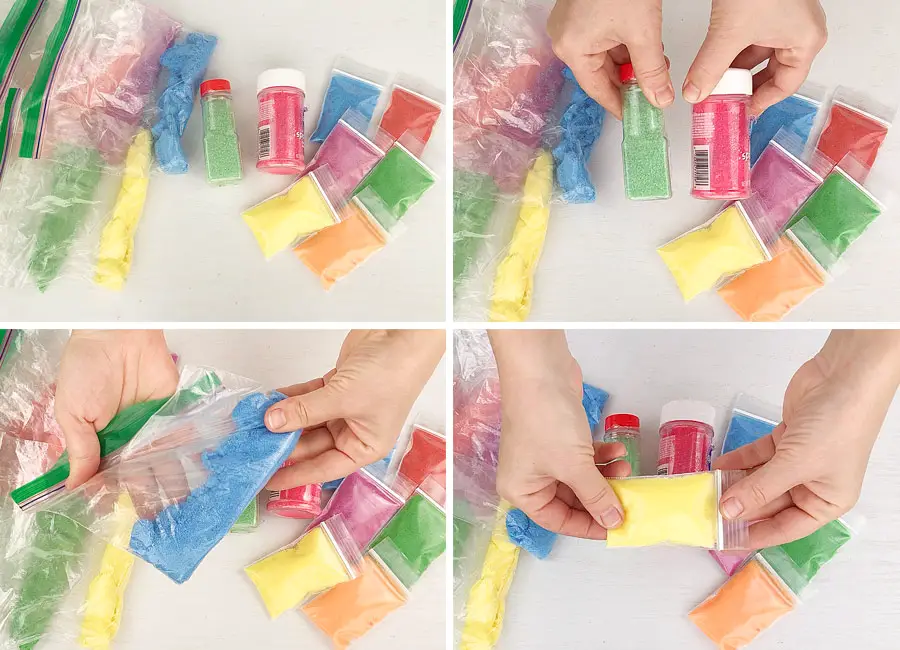
You can also include some colored sugar. You can use store bought or you can make it yourself and save a lot of money! I have a separate blog post on how to make Colored Sugar at home, so don’t forget to check it out. Again, you can fill out some portion containers or small resealable bags and included it in your decorating cookie kit.
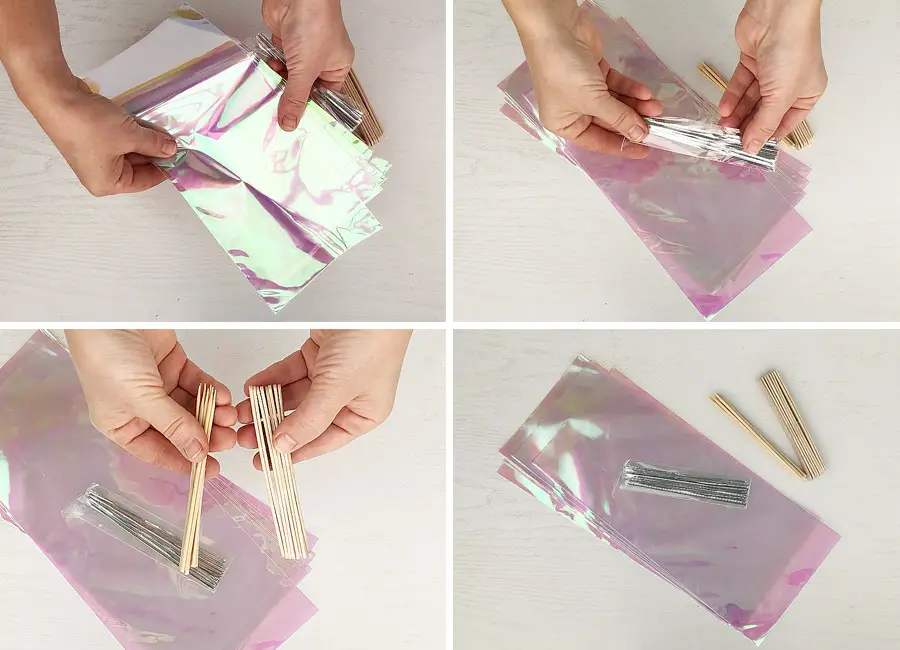
Other things that I like to include are treat bags, twist ties, wooden skewers and sticks about 8 of each, so after the cookie is decorated and dried completely it can be wrapped and given as a present. All these things are totally optional.
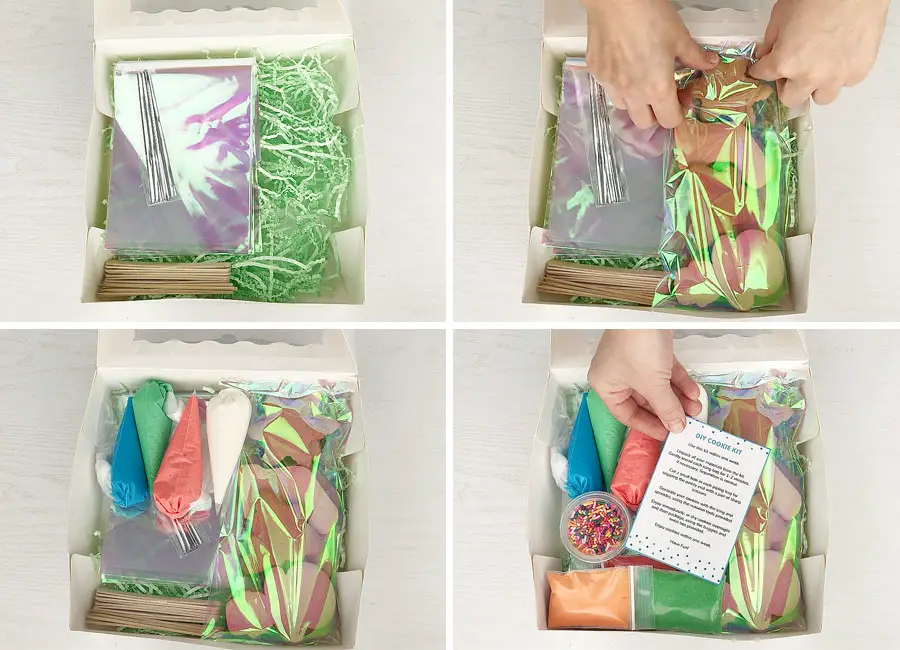
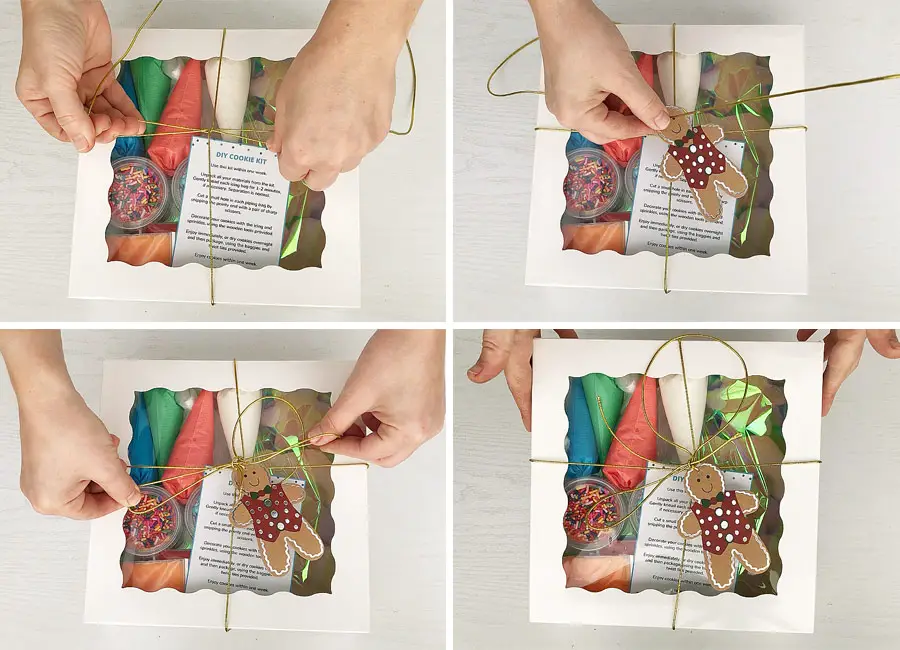
Finally, let’s assemble the box. Add the bags and utensils, place the cookies, add the royal icing bags, twisting them and tucking the top underneath. That way they look nice and firm. Add the sprinkles and colored sugar to the top. The last thing that I like to include is cookie decorating instructions. It gives some simple directions to a cookie decorator. For your convenience, I created a printable PDF file that you can find right here.
Close the box, add a pretty ribbon or twine, some holiday related ornament and we are done!
I really hope that my blog post is useful to you and inspire you to make Cookie Decorating Kit this Holiday season!





Leave a Reply