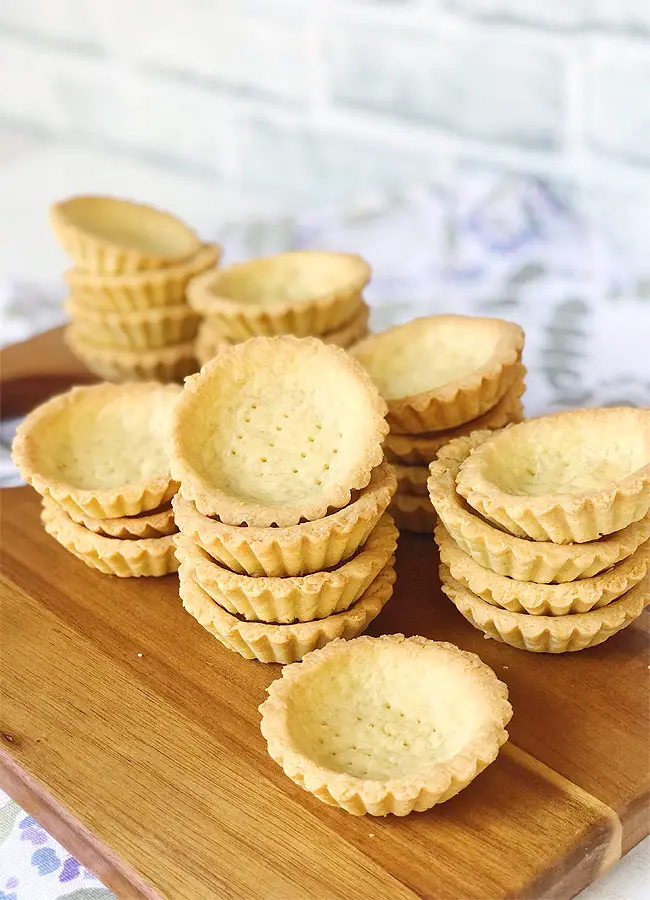
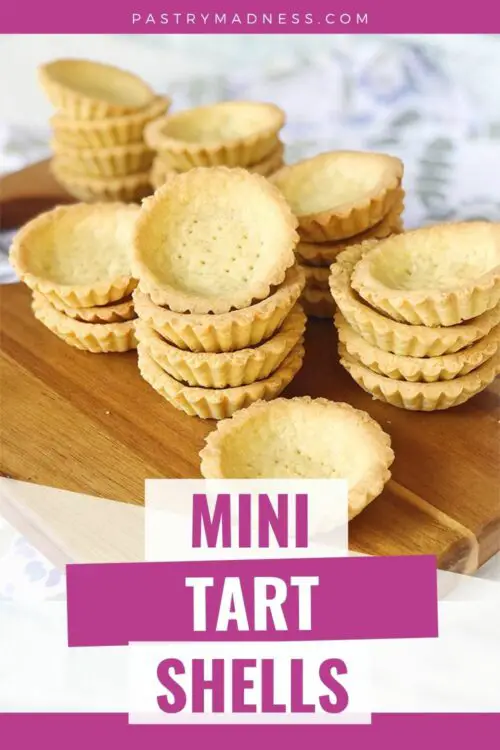
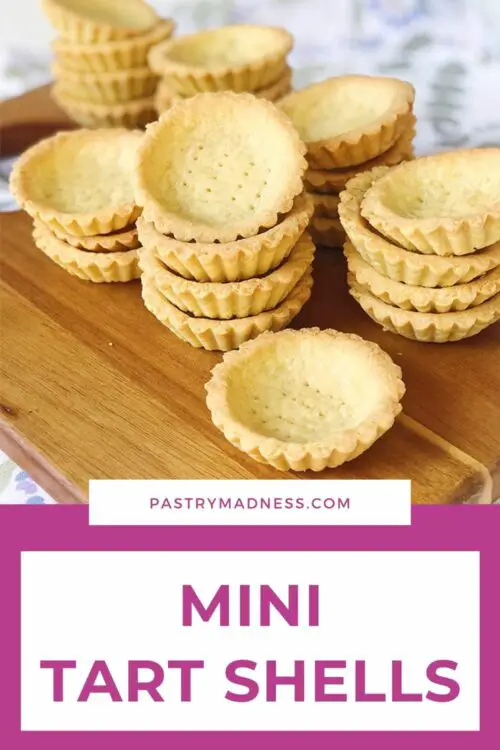
Today I’m going to show you how to make Mini Tart Shells which are great for making holiday appetizers or individual desserts. They can be made in advance and stored in an airtight container until needed.
Ingredients:
400g all-purpose flour
1 tsp sugar
½ tsp salt
200g soften butter
6 egg yolks (or 2 whole eggs)
25 ml milk at room temperature
Step 1
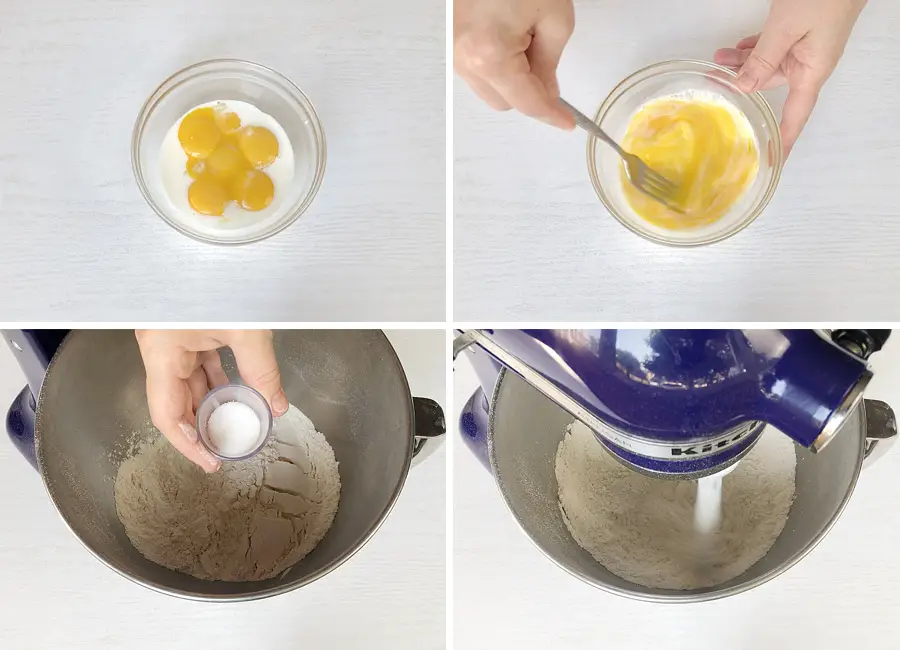
Start by mixing the egg yolks with milk and set it aside. In a stand mixer bowl combine the flour, sugar and salt and give it a quick whisk.
Step 2
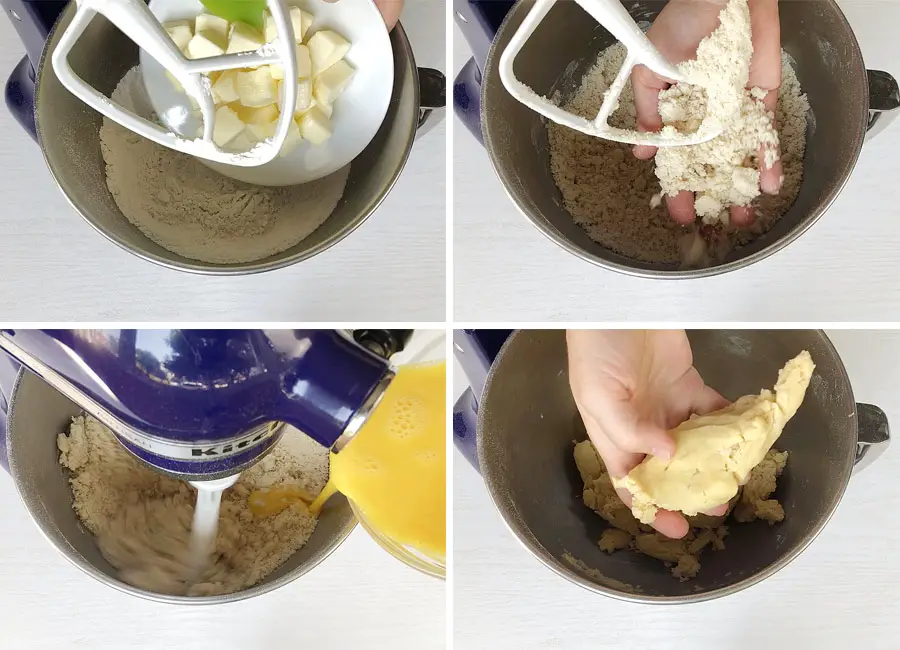
Add the soften butter and mix again until it turns into crumbs. Add the mixture of egg yolks and milk while continuing to mix on the low speed of your mixer. The dough will come together very quickly.
Step 3
Transfer the dough onto your work surface, knead it for a minute and divide it into two pieces. Cover one-piece with plastic wrap and put it aside. Cover the second piece with parchment paper or Teflon sheet and roll it out until it’s ¼ of an inch thick.
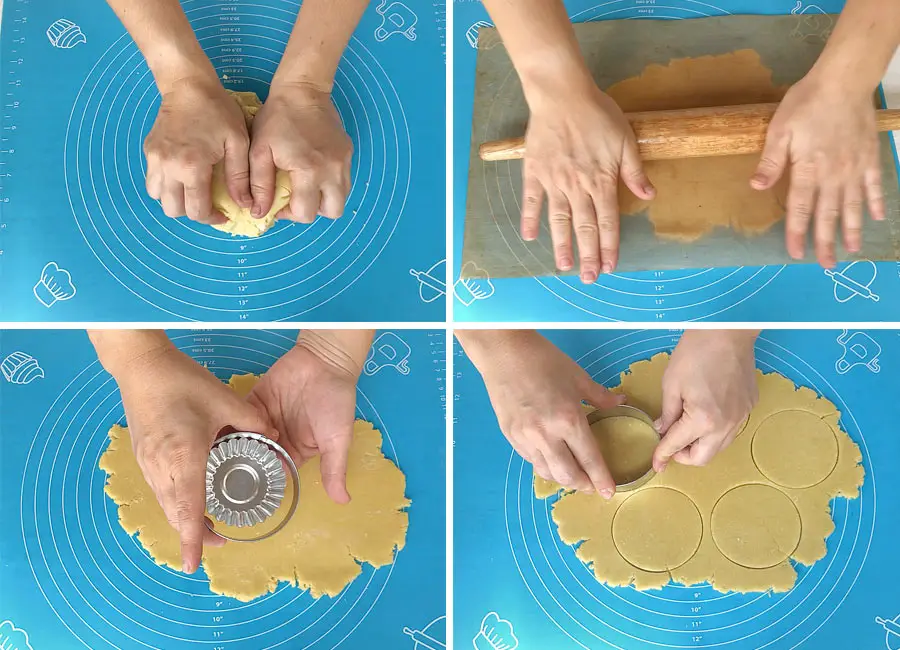
To make the tart shells I use tart molds that are 2 3/4-inch (7 cm) across at the widest opening and a round cookie cutter that is about 3 1/4- inch (8 cm). Using a cookie cutter, cut as many circles of dough as you can.
Step 4
Place the round dough into the tart mold and push down gently with your thumbs, so the dough is distributed evenly all around. Cut off the excess dough if necessary. You don’t need to grease the molds with oil spray, because the dough contains a lot of butter.
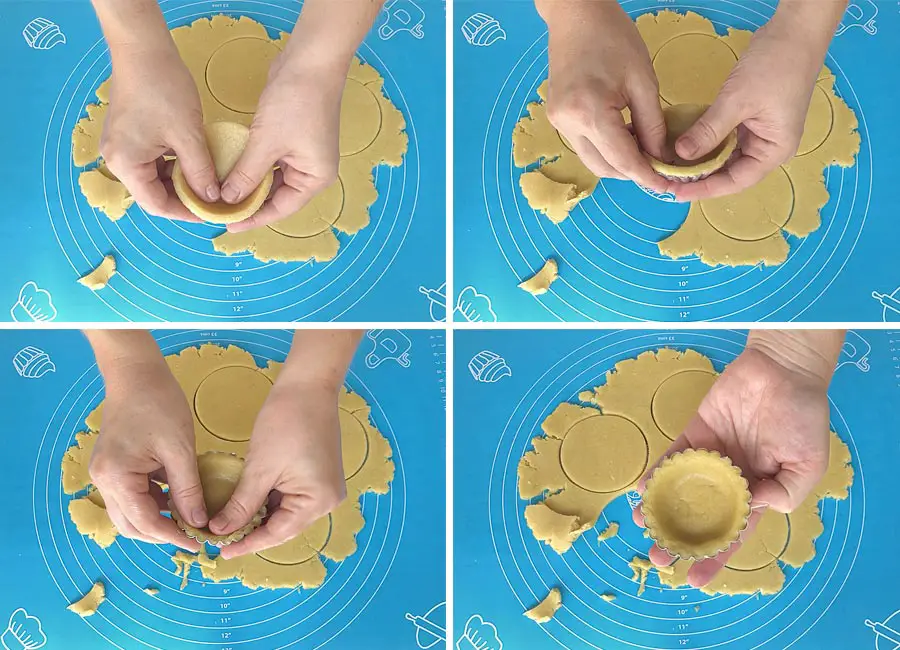
Don’t forget to cover the dough and the ready tart shells with plastic wrap to prevent it from drying out. Collect all the remaining dough into a ball and roll it again. Repeat the process with the remaining dough.
Step 5
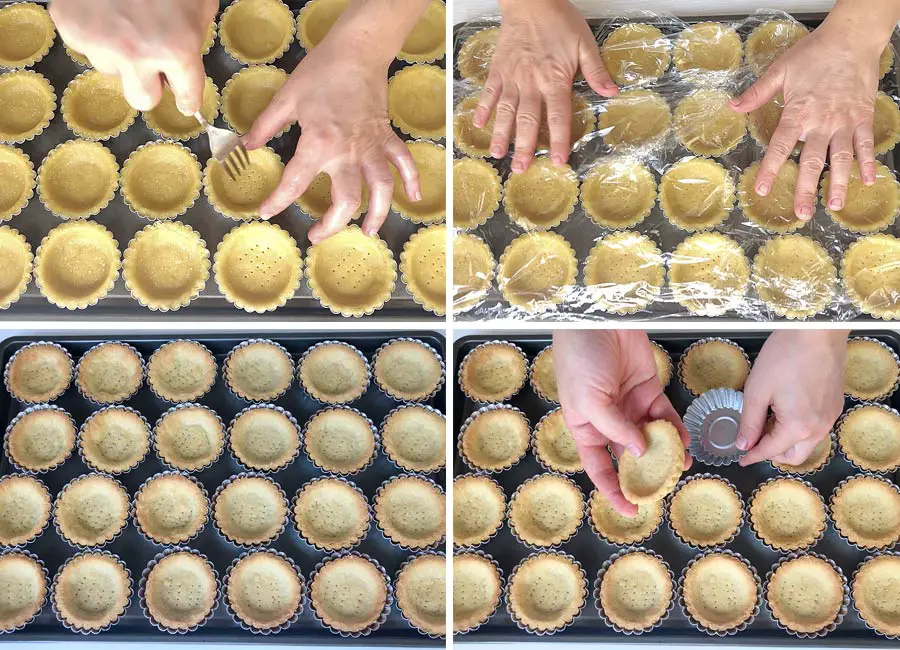
Don’t miss the next step! To prevent the crust from bubbling up during baking, use a fork to prick the bottom of each tart crust! Cover the tart shells with plastic wrap and let them chill for 15-20 minutes.
In the meantime, preheat the oven to 350 F degrees and bake the mini tart shells for 15-20 minutes or until they have a golden-brown color. Let them cool for a couple of minutes and take them out of the mold.
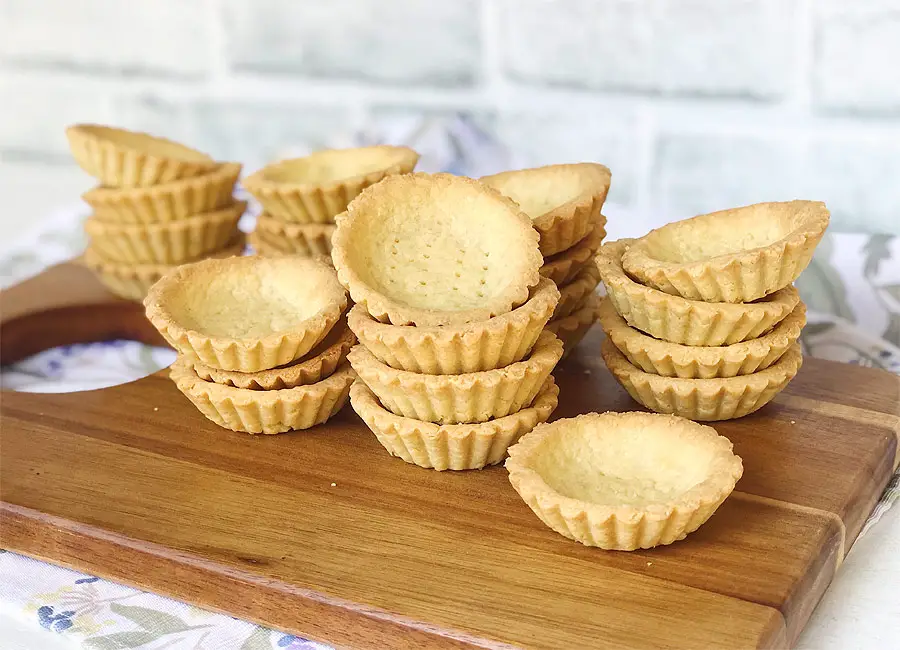
You can use them immediately and fill the shells with sweet or savory filling or you can store them in an airtight container up to 1 week. You can, also, freeze them for up to 1 month.
Notes:
You can replace the egg yolks with 2 whole eggs.
Ready dough can be used immediately or stored in the refrigerator for up to 1 week.
Baked tart shells can be stored in an airtight container for up to 1 week at room temperature or up to 1 month in the freezer.
Baked shells can be filled with sweet or savory filling.
If my post was useful to you, please let me know in the comment section below.
This post may contain affiliate sales links. Please see my Full Disclosure Policy for details.

Mini Tart Shells
Ingredients
Method
- Start by mixing the egg yolks with milk and set it aside. In a stand mixer bowl combine the flour, sugar and salt and give it a quick whisk.
- Add the soften butter and mix again until it turns into crumbs. Add the mixture of egg yolks and milk while continuing to mix on the low speed of your mixer. The dough will come together very quickly.
- Transfer the dough onto your work surface, knead it for a minute and divide it into two pieces. Cover one-piece with plastic wrap and put it aside. Cover the second piece with parchment paper or Teflon mat and roll it out until it’s ¼ of an inch thick.To make the tart shells I use tart molds that are 2 and three quarters of an inch across at the widest opening and a round cookie cutter that is about 3 and a quarter of an inch. Using a cookie cutter, cut as many circles of dough as you can.
- Place the round dough into the tart mold and push down gently with your thumbs, so the dough is distributed evenly all around. Cut off the excess dough if necessary. You don’t need to grease the molds with oil spray, because the dough contains a lot of butter.Don’t forget to cover the dough and the ready tart shells with plastic wrap to prevent it from drying out. Collect all the remaining dough into a ball and roll it again. Repeat the process with the remaining dough.
- Don’t miss the next step! To prevent the crust from bubbling up during baking, use a fork to prick the bottom of each tart crust! Cover the tart shells with plastic wrap and let them chill for 15-20 minutes.In the meantime, preheat the oven to 350 F degrees and bake the mini tart shells for 15-20 minutes or until they have a golden-brown color. Let them cool for a couple of minutes and take them out of the mold.
Notes
Ready dough can be used immediately or stored in the refrigerator for up to 1 week.
Baked tart shells can be stored in an airtight container for up to 1 week at room temperature or up to 1 month in the freezer.
Baked shells can be filled with sweet or savory filling.


Absolutely perfect! Thanks for shay
How many tarts does the recipe make?
I am curious regarding using all egg yolks or just use two whole eggs? Is there a difference in texture or flavor? If using just yolks seems you’re wasting quite a few egg whites. I only ask out of curiosity. The pie shells look amazing!!! I want to make them soon. Yours are beautiful.
How many tartlets does 1 recipe yield?
You will get 24 for sure and maybe more. I got 29, but I also added some finely chopped almonds.
Have you ever added finely ground nuts (Almonds) to the dough. Just wondering if the dough would still act as perfectly as yours.
I also would like to know how many tart shells does one recipe make.
Thanks for sharing was looking for one and it looks beautiful
Simply wonderful recipe. Works great every holiday for Thanksgiving and Christmas. I make Canadian butter tarts. I live in California and it was a tradition when I was in Canada that my mother would do for us every year so I carried that on and this recipe certainly is easier than making pie crust and cutting them out. It rolls so easy especially if you put them on a silicone mat and have a silicone mat on top of them when you roll it out you don’t have to use any flour. thank you so much for this recipe!