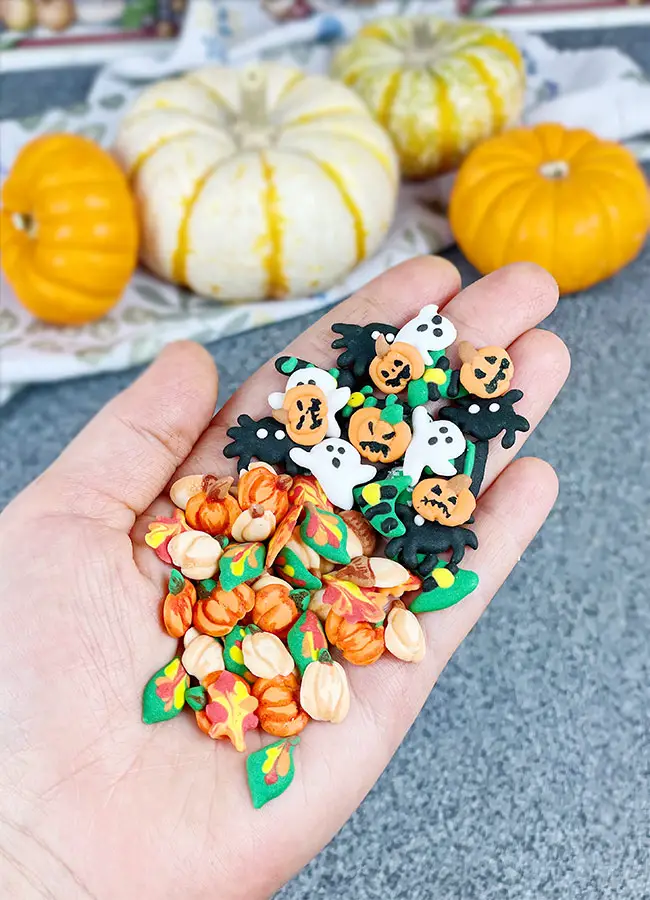
Today I’m going to show you how to make Sprinkles. I’ll show you a few ideas for Fall Sprinkles and Halloween Sprinkles. Using this method you can make custom sprinkles for any occasion.
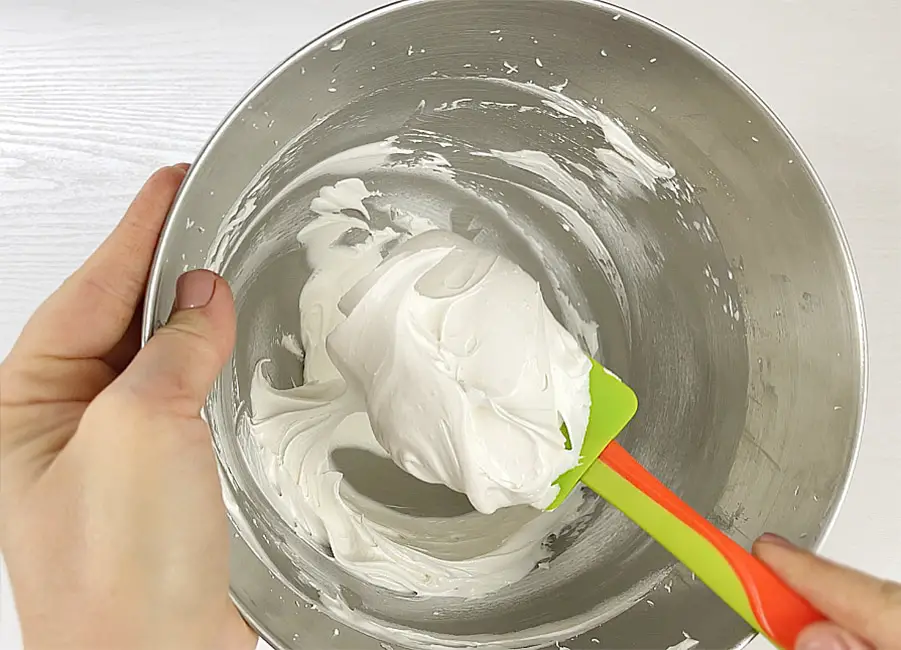
To make the sprinkles you’ll need a small batch of royal icing. If you don’t know how to make Royal Icing, I recommend you watch my full tutorial about Royal Icing for Beginners. I got this amount of icing, by only making a ¼ of the recipe.
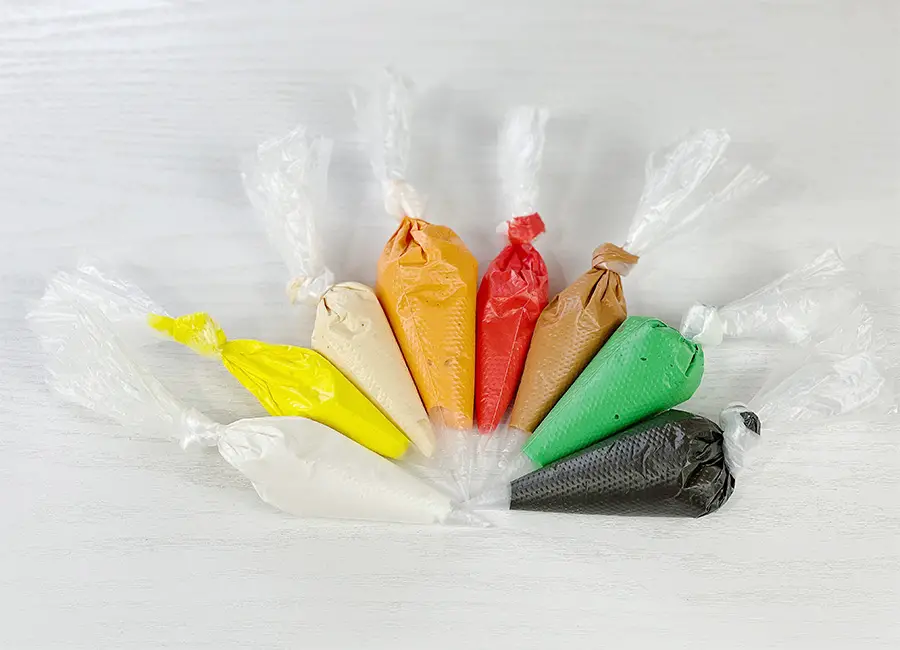
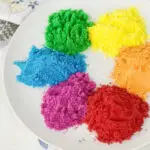
Next, I colored the icing using gel food colors and placed it into small piping bags.
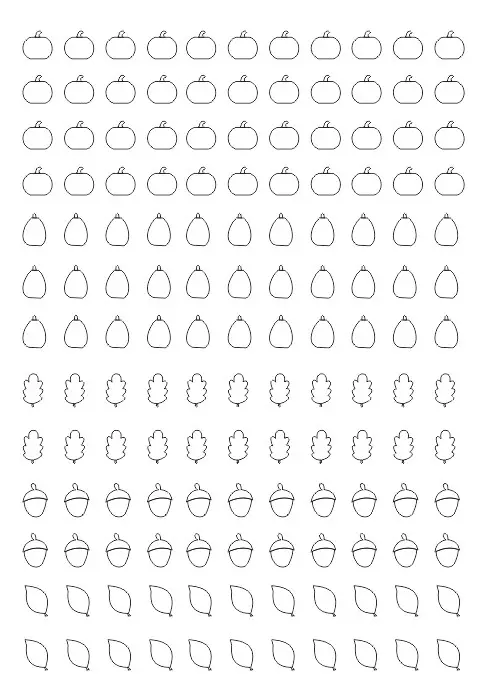
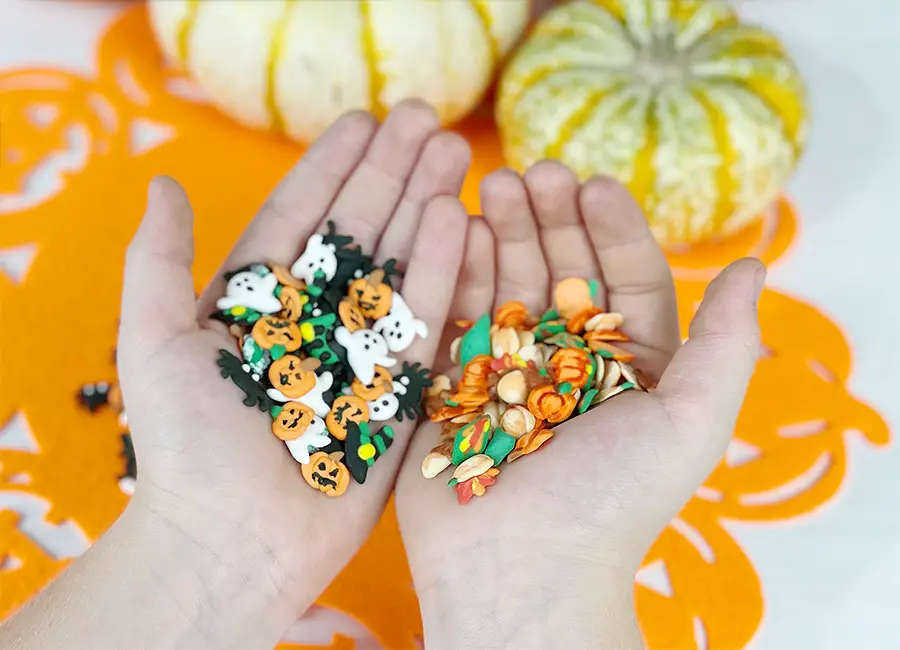
I also prepared two template sheets. One for the Halloween Sprinkles and another for the Fall Sprinkles.

We will also need two pieces of parchment paper, matching the size of the template paper. They must be fastened together with paper clips.
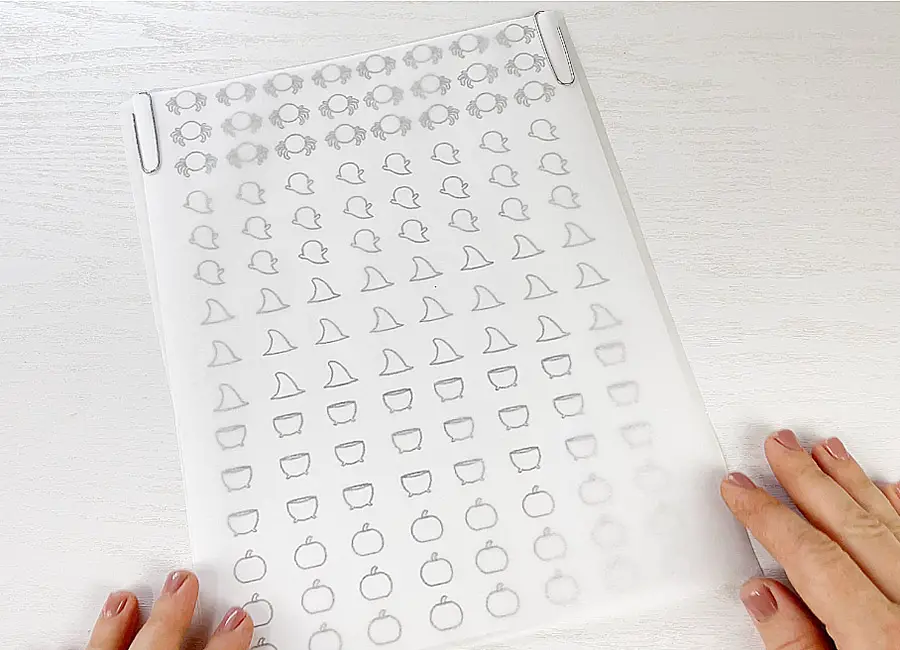
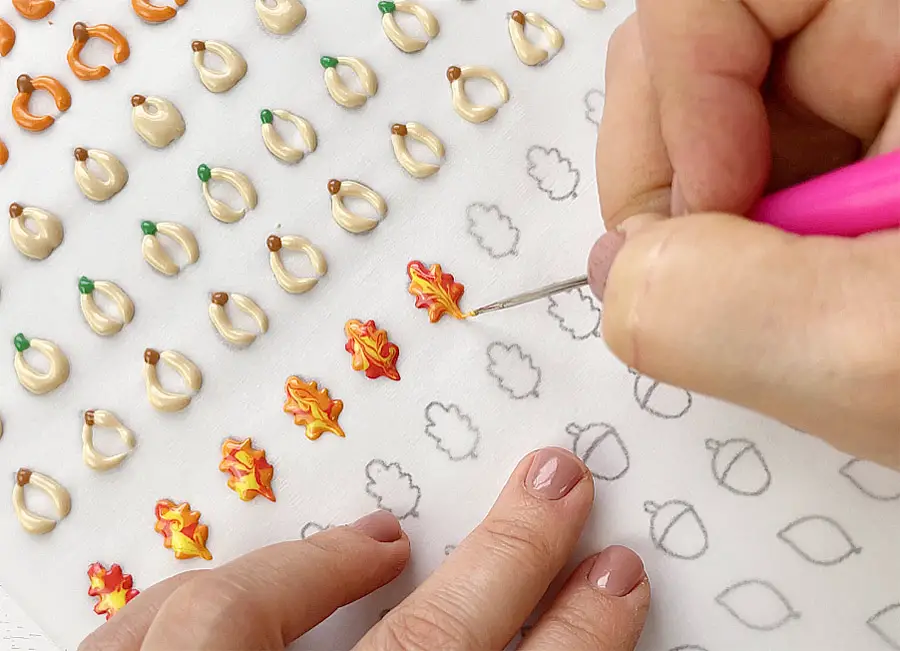
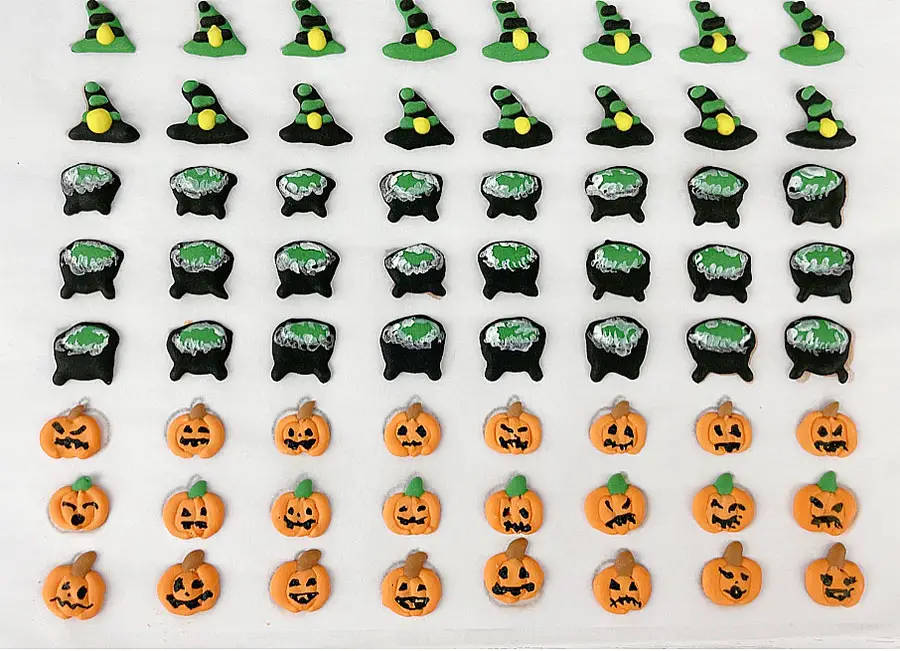
Next, all we need to do is trace the template pictures with the royal icing. It’s a very easy and entertaining process. You don’t need to use any piping tips. All you need to do is to snip the tip off of the piping bag and start to pipe. For one color elements, just trace the picture, fill it with the icing and let it dry. (See my full video tutorial)
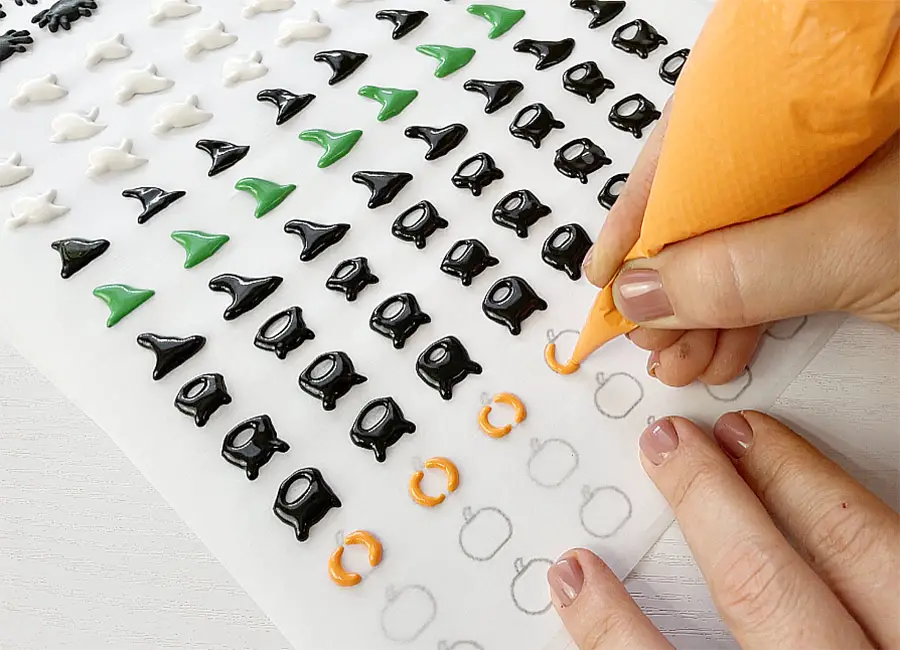
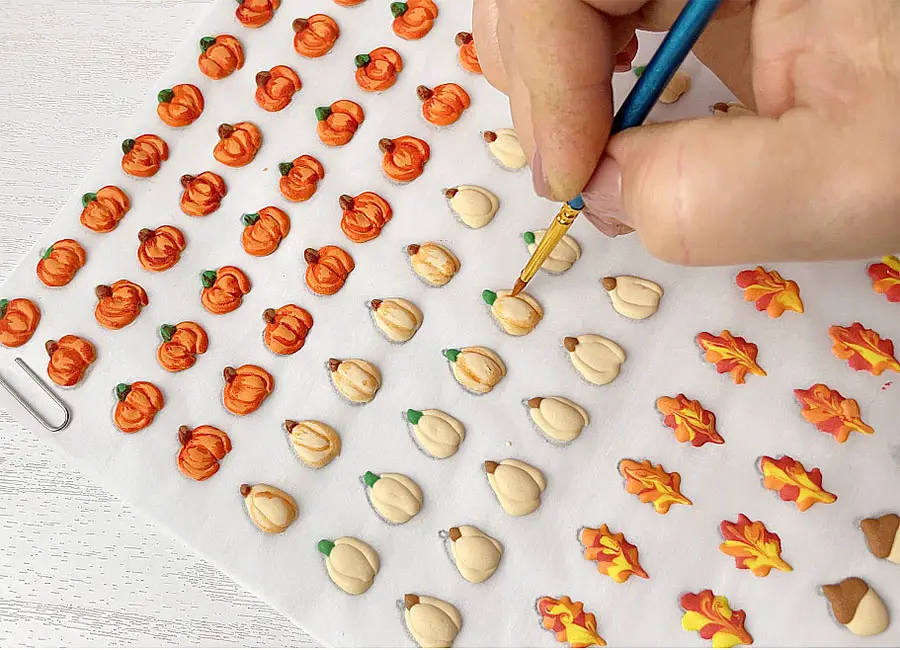
To make the pumpkins I recommend to pipe the sides first, then let it dry out for a few minutes and finish the middle. If you fill in the middle too soon, it will merge with the sides and the pumpkin will not have the waves like a real one. This applies to all complex elements like pumpkins and these cauldrons.
When the hats, ghosts and spiders dry out, we can add some decorations on top.
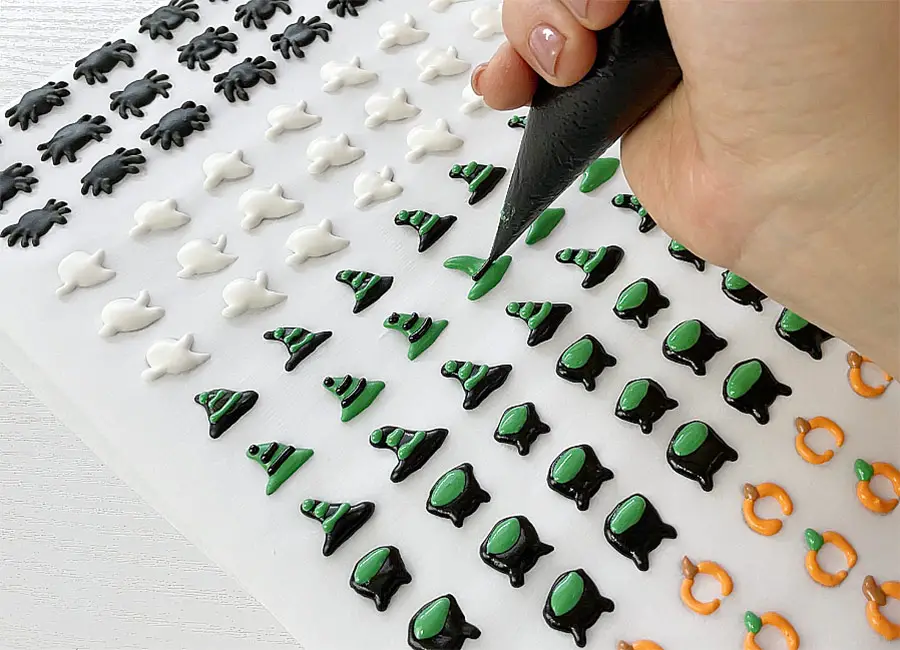
As you can see, it’s kind of just going back and forth on the elements.
When all of my Halloween sprinkles were done, I let them dry out overnight.
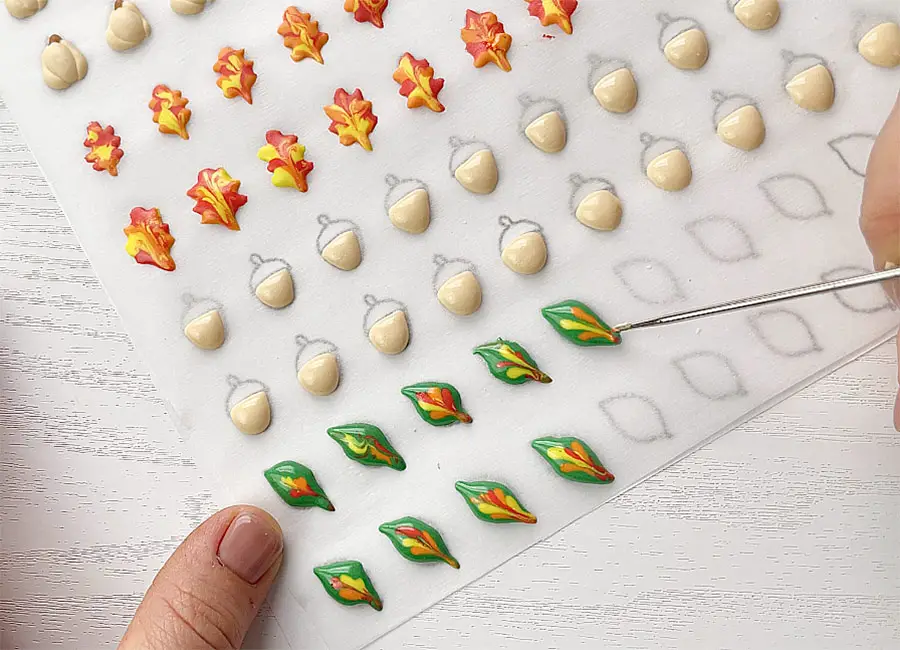
For my fall sprinkle leaves I piped dots of different colored icing and using a scriber needle I slightly mixed them and pulled out a twig.
For the green leaves, I traced the leaves, filled them with green icing, then on top of the green surface I piped dots of different colored icing and again using a scriber needle I slightly mixed them and pulled out a twig.
When all of my fall sprinkles were done, I let them dry out overnight as well.
The next day, for a more realistic look, using gel food colors diluted in vodka, I added some shadows on my sprinkles. After it dries, the alcohol evaporates and the colors remain. It’s important to remember that very little food coloring is needed for the effect. And of course, this step is completely optional.
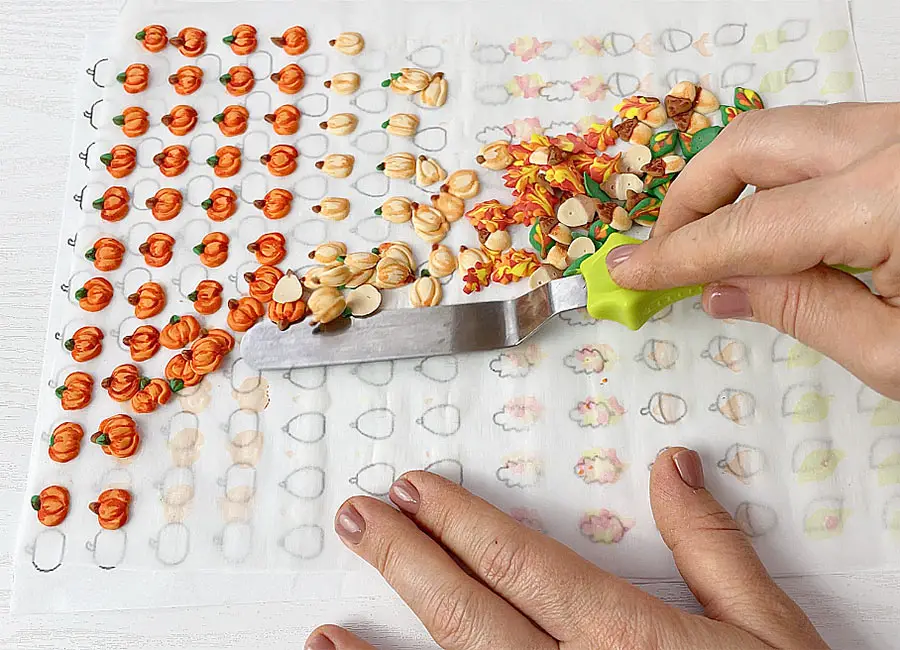
When all the decorations are done, using a spatula carefully detach the sprinkles from the parchment paper.
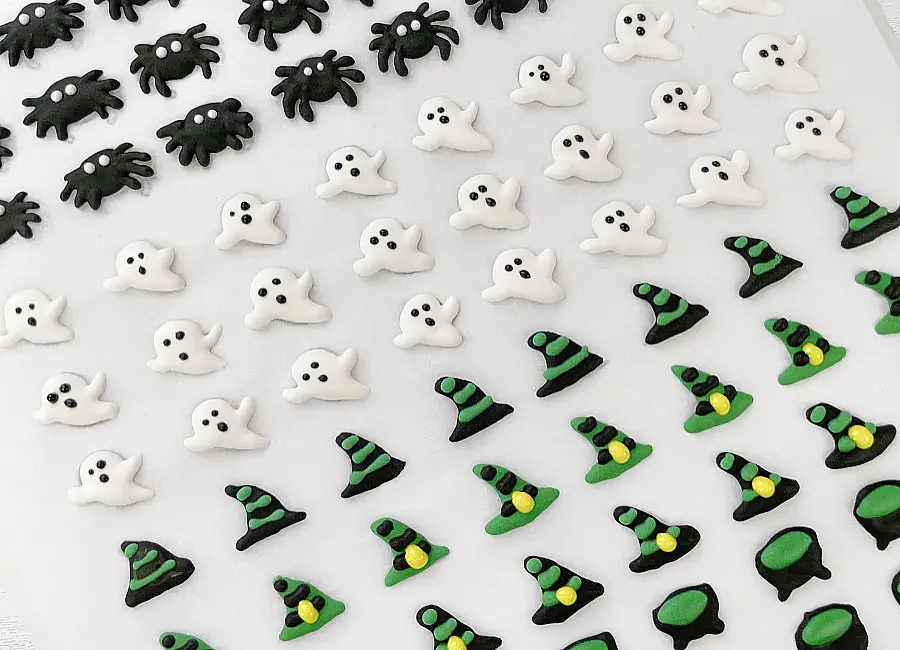
For my Halloween sprinkles, using white food color, I added some bobbles on the cauldrons. Using black food color, I painted faces on the pumpkins.
In my opinion, they turned out very cute.
Store the sprinkles in an airtight container for up to a year.
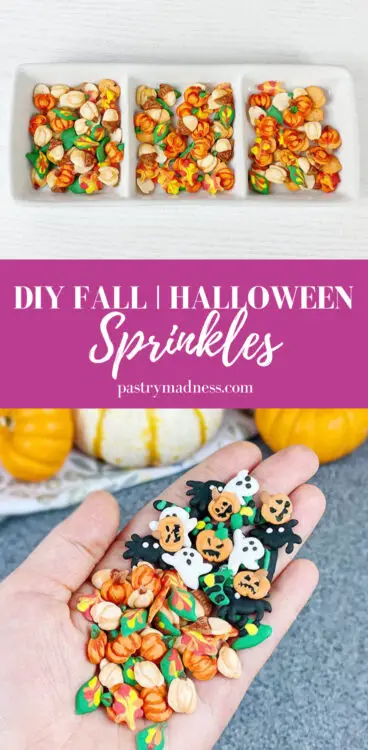
Pin It For Later
THIS POST CONTAINS AFFILIATE LINKS, WHICH MEANS I MAKE A SMALL COMMISSION AT NO EXTRA COST TO YOU. PLEASE SEE MY FULL DISCLOSURE POLICY FOR DETAILS.
Make sure to watch my YouTube video recipe for step-by-step instructions and see how I make this easy, Fall and Halloween Sprinkles! Want new recipe updates? Make sure to subscribe to my YouTube Channel!
DO I NEED A PIPING TIP TO MAKE DIY SPRINKLES?
You don’t need to use any piping tips. All you need to do is to snip the tip off of the piping bag and start to pipe. You can also use a sealable plastic storage bag instead or even roll a piece or parchment paper into a piping bag. (You can see how to make it in my video tutorial Royal Icing for BEGINNERS and Easter Cookie Ideas)
HOW TO STORE MY DIY SPRINKLES?
Store the sprinkles in an airtight container for up to a year.
You may also like
Swiss Meringue and Halloween Cookie Ideas
How to Make Colored Sugar
How to Make Edible Moss Without Eggs
Leave a Reply